Hyper-Light Ice Angling

It’s been a rough start to the ice fishing season.  From a quick-freeze-up and false start for some parts of the ice belt, to nearly non-existent ice for much of the remainder, there’s no way to sugar-coat the whitecaps in January.  While it has discouraged some anglers from getting ready for what ice will be had when it arrives at your local lake, I’ve taken it as an opportunity to review my gear as there’s little else to do for many of us.  Not that shaving a few pounds is excuse to creep out on thin ice, but saving some weight keeps us nimble and after the fish, especially when hand-dragging so deep into what’s typically middle-winter conditions.  Call it a first-ice mindset for what may be much more of the season than we intended, here’s how I look to keep it light out there.

Suits– In a year with record ice-rescues and constant reminders of the danger of ice, a float suit is pretty much standard-issue.  Most ice outerwear these days floats anyway, so for anglers looking to upgrade, it’s more about comfort, warmth, and yes, weight.  Higher end suits on the market currently don’t just serve the floatation, warmth, and organizational needs of ice-heads, they do it without feeling bulky or heavy.

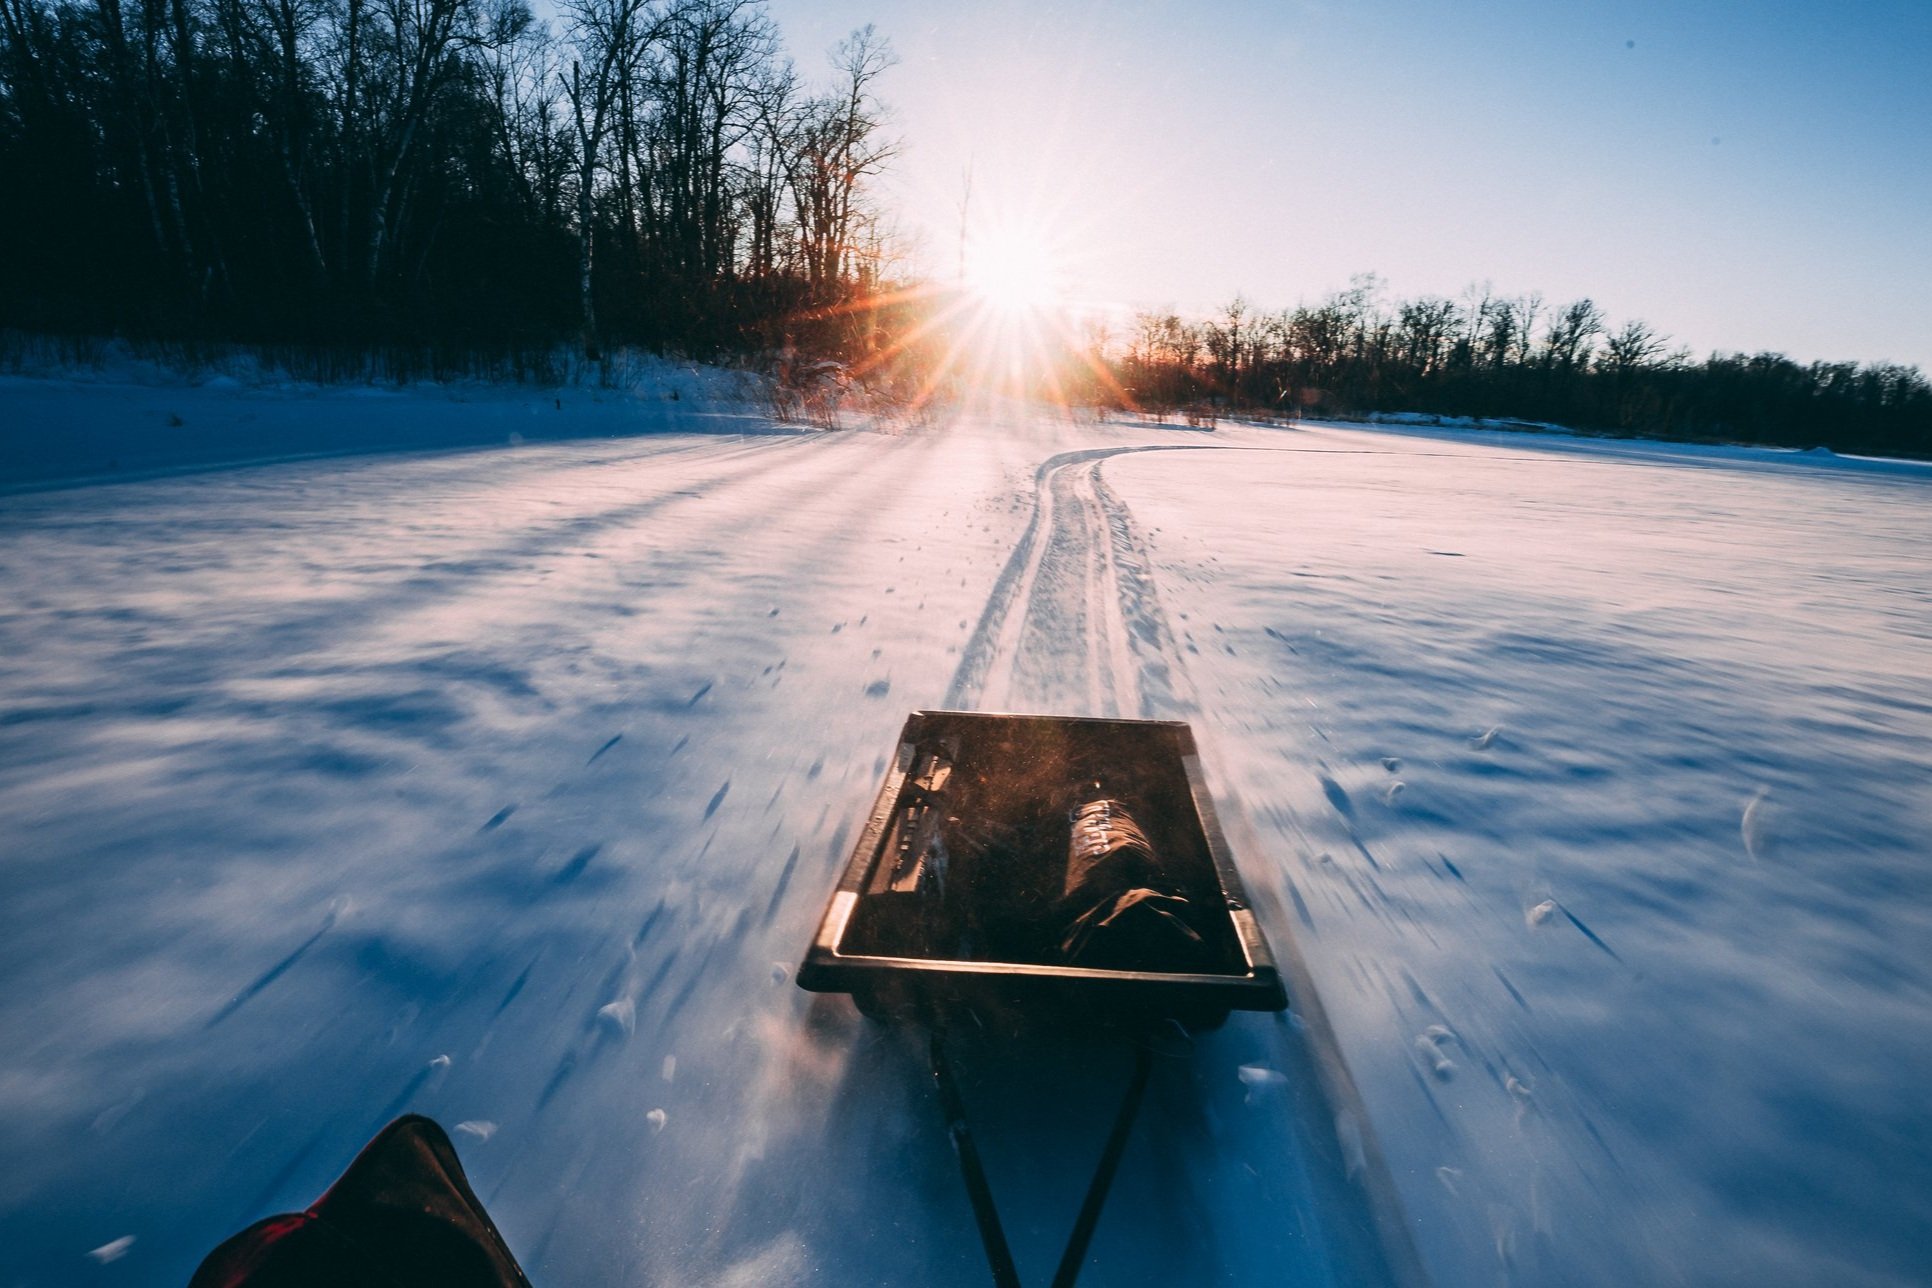
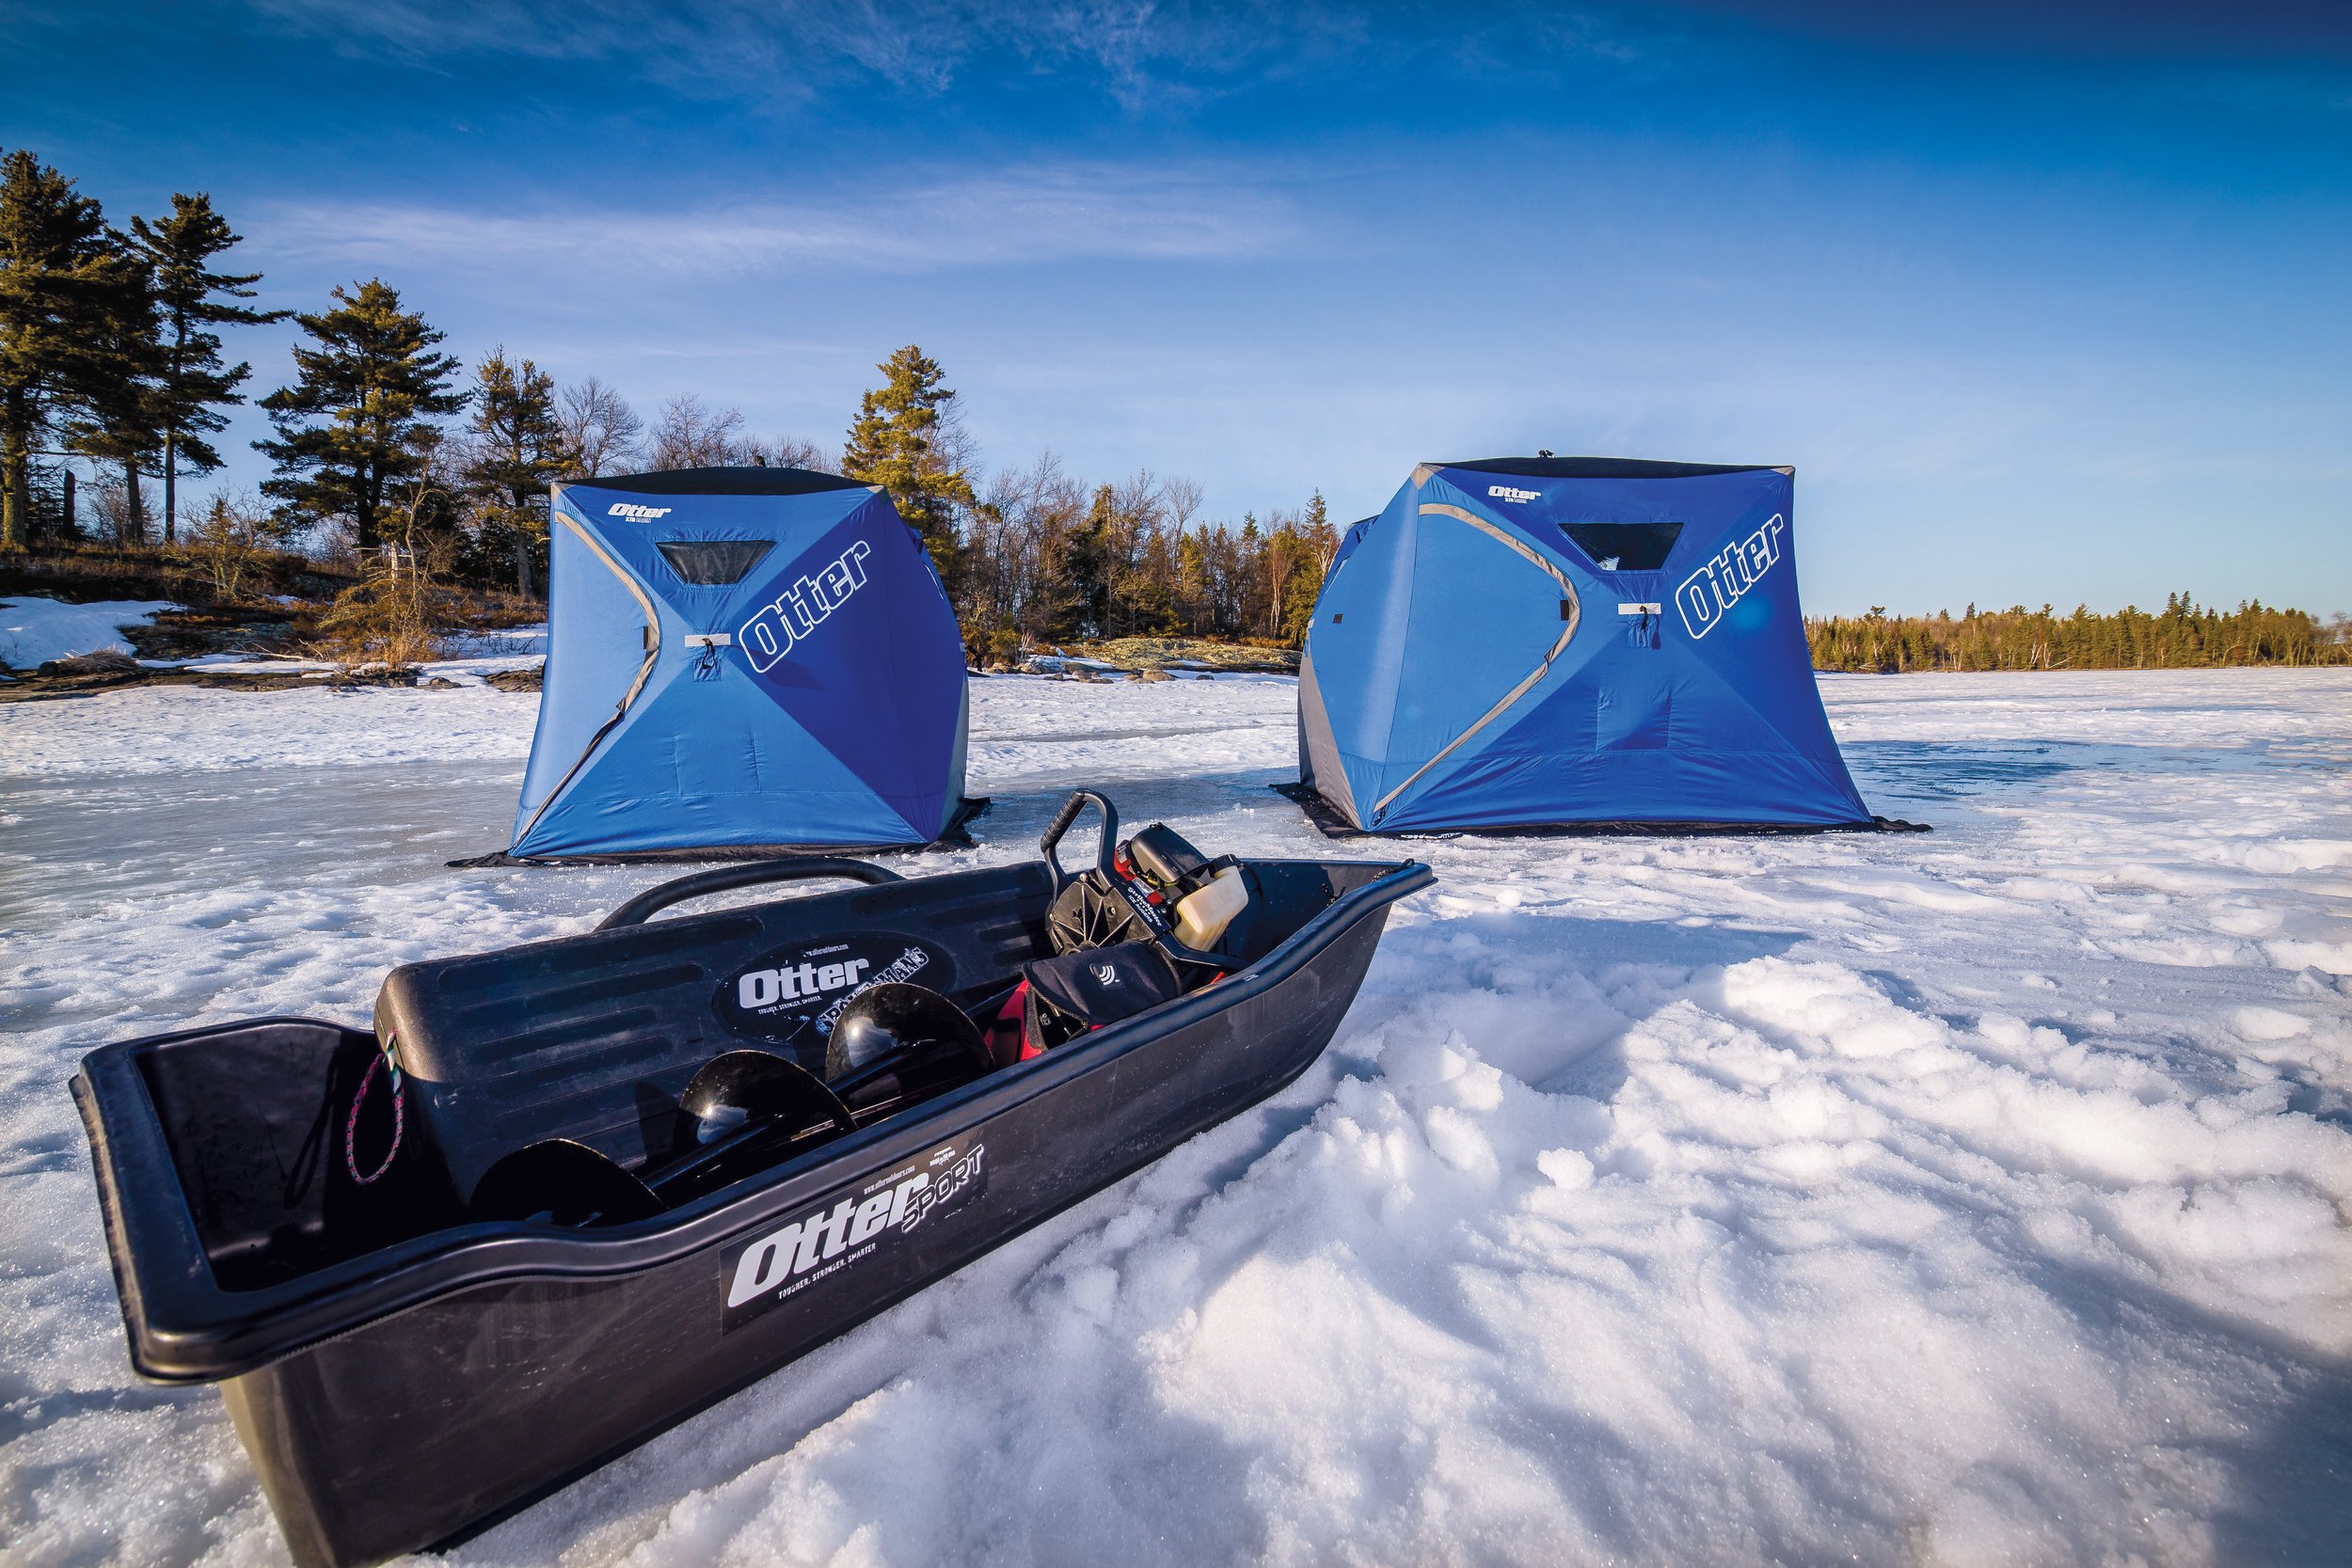
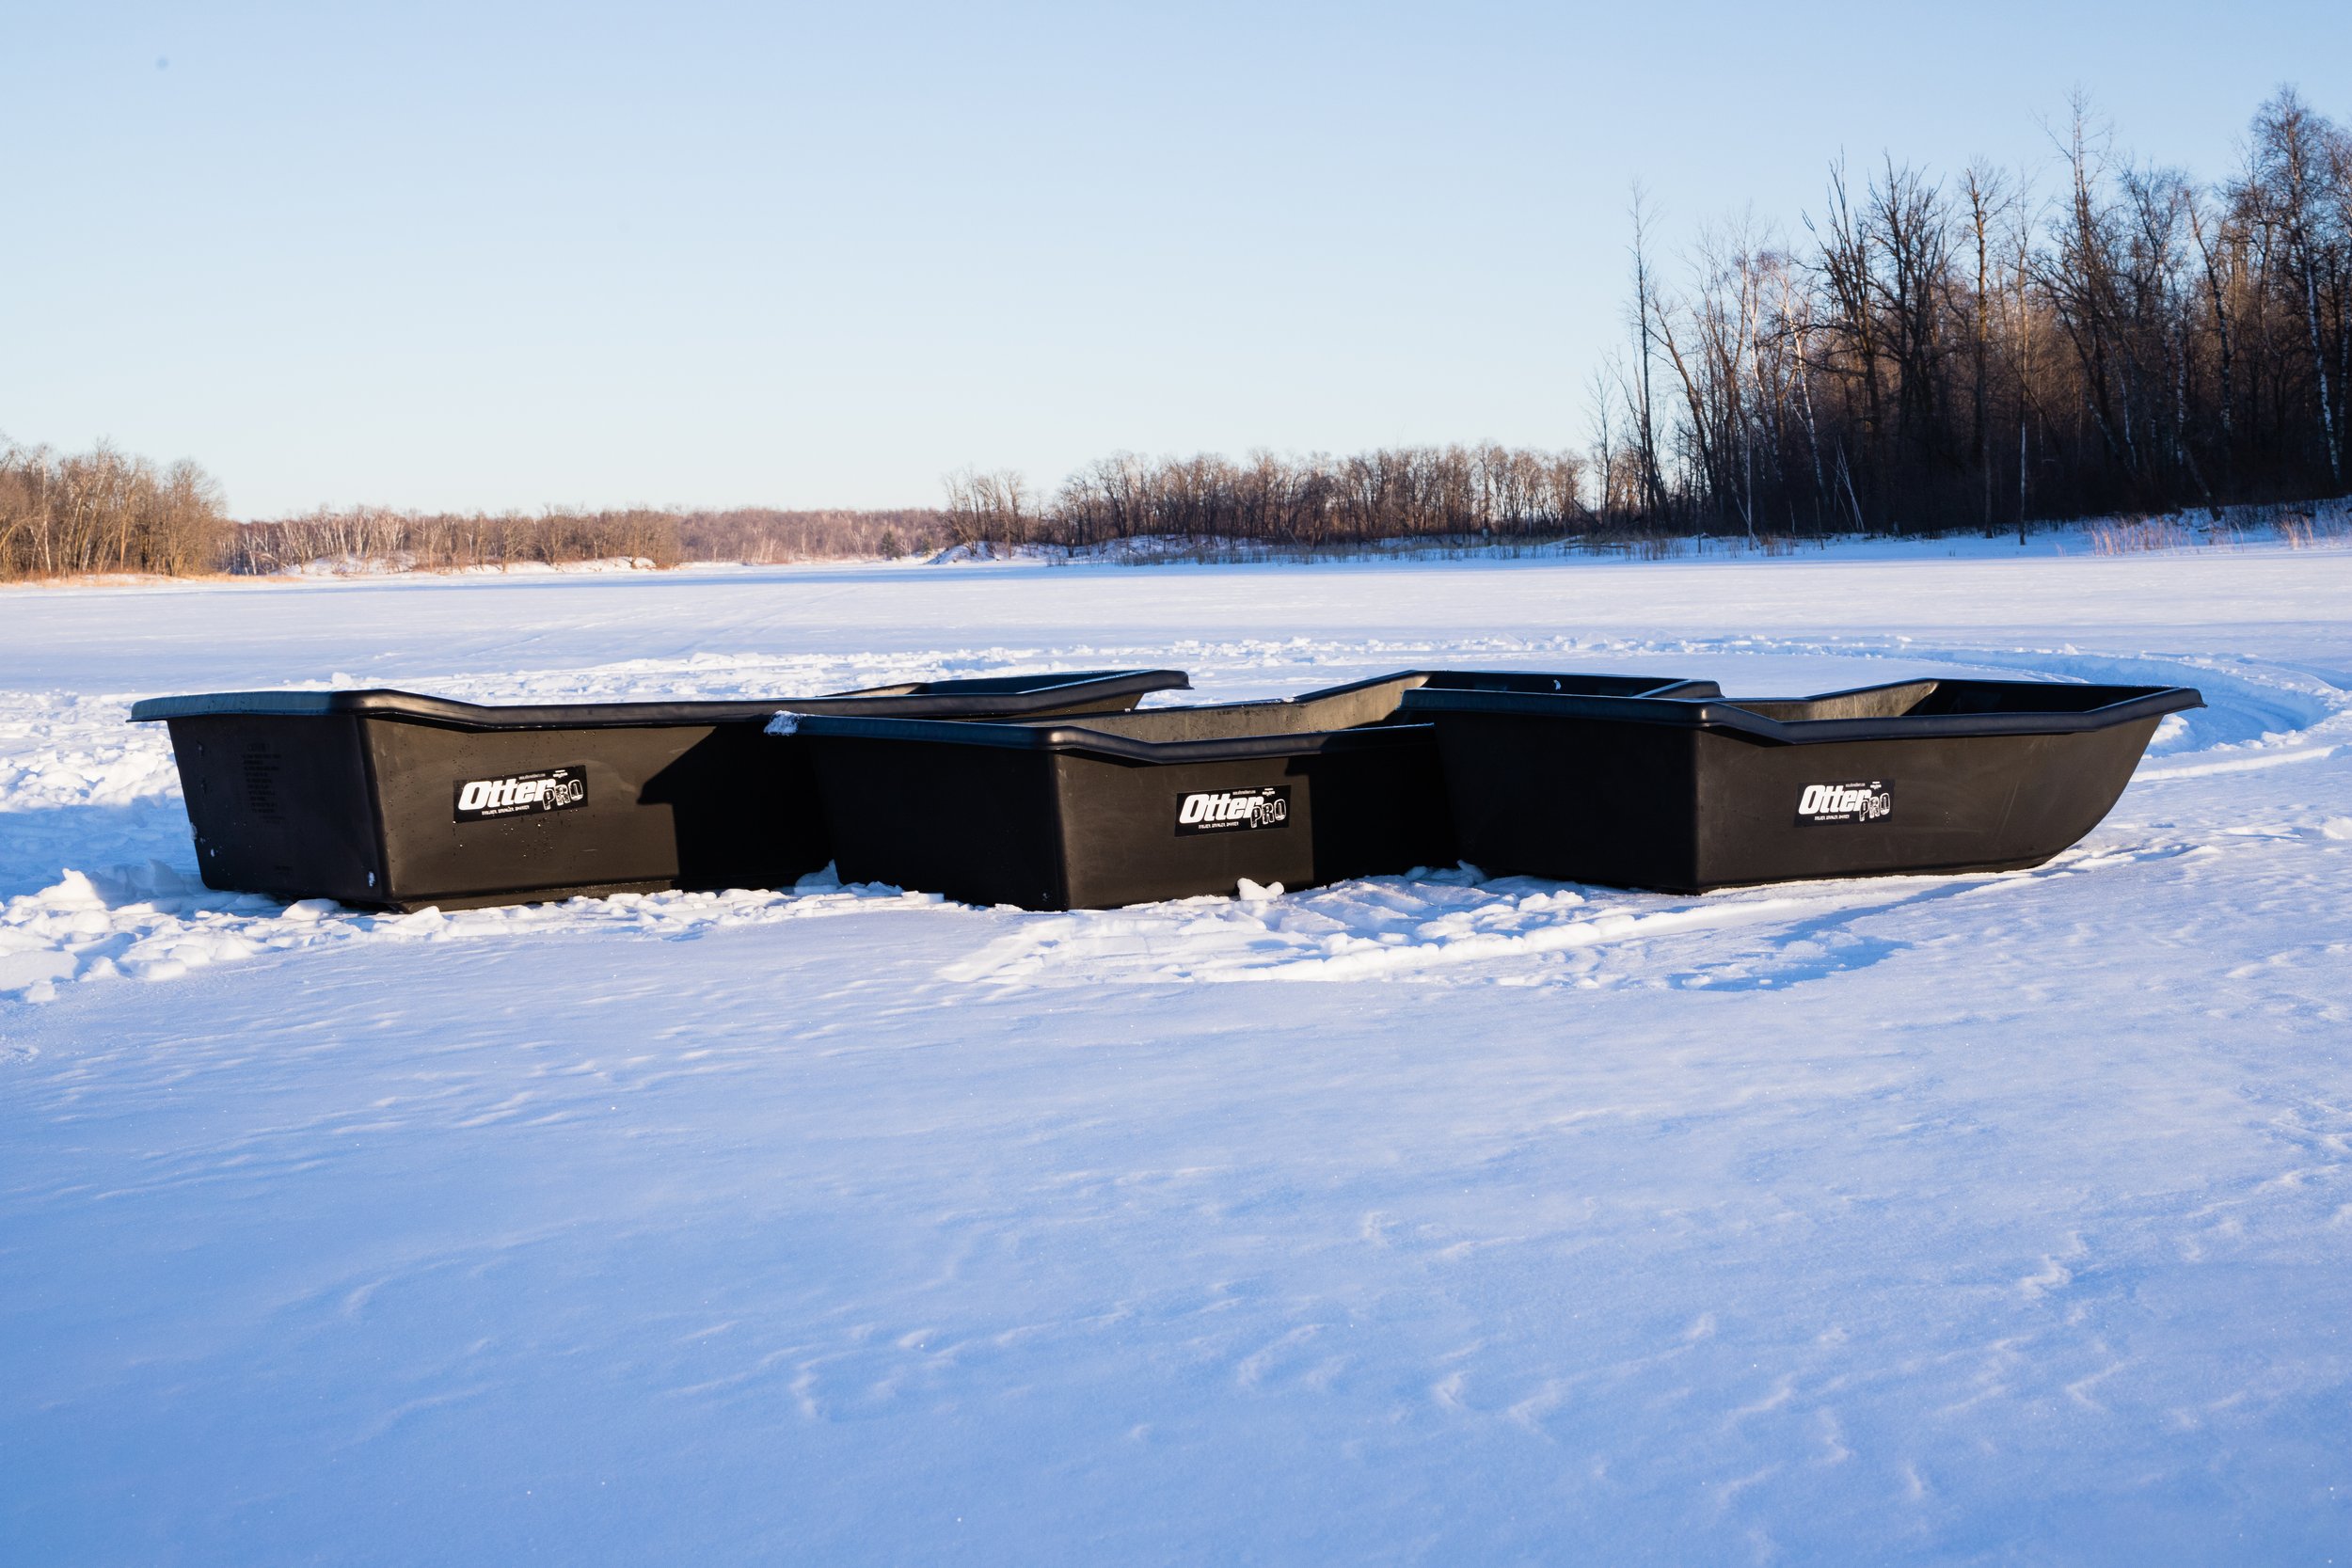
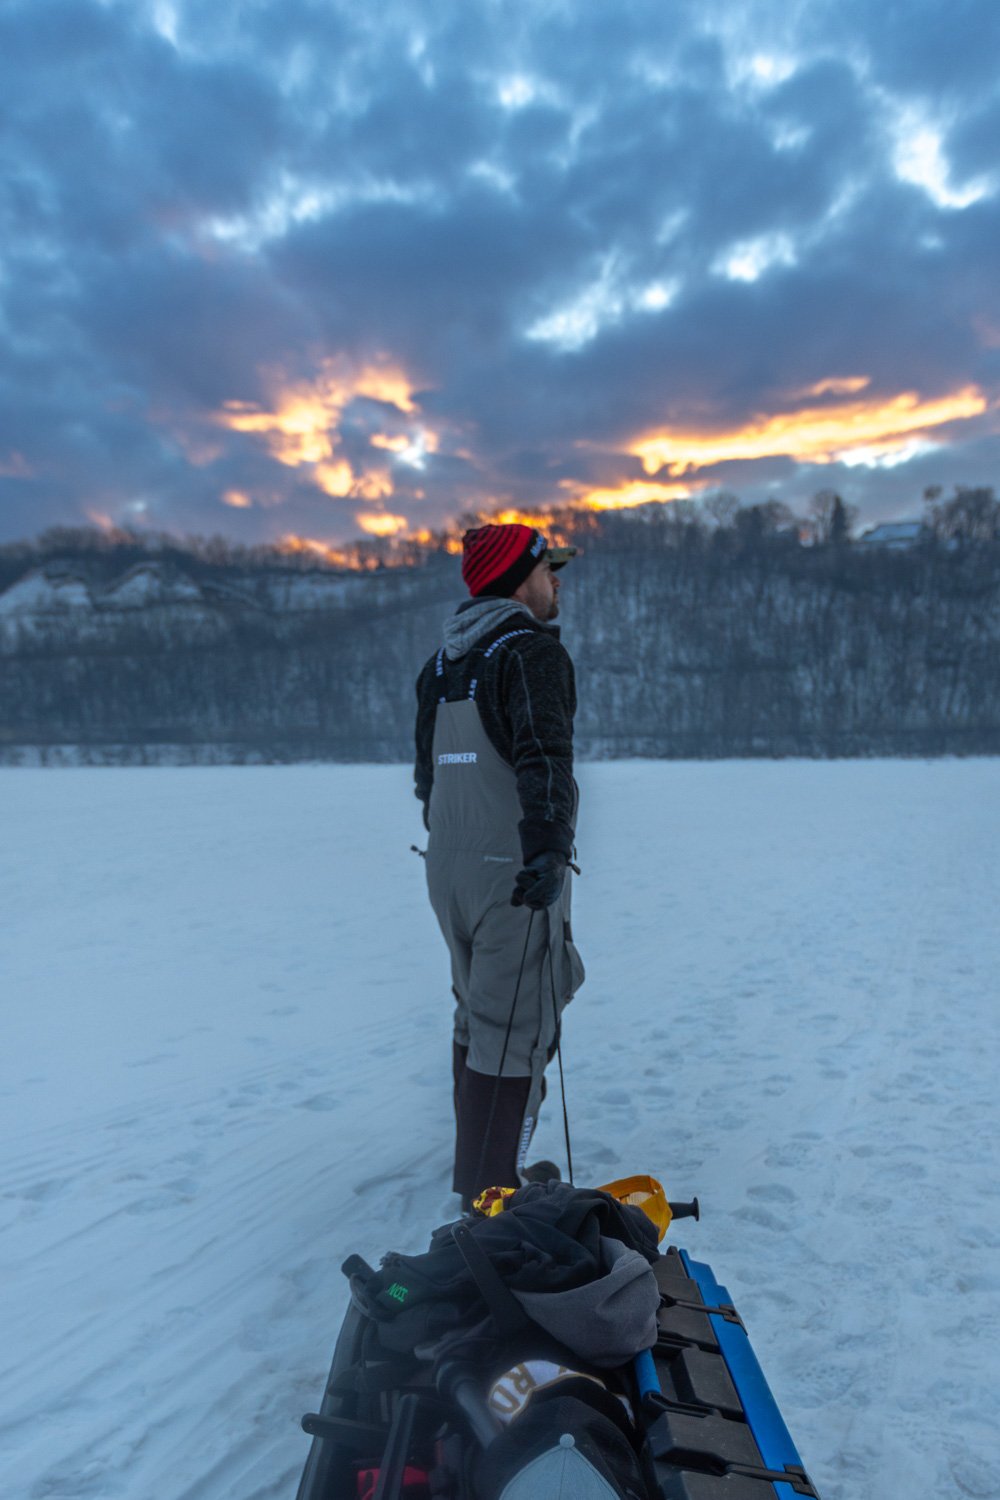
Sled – If you’re using the old war-wagon you’ve always pulled, it might be time for an upgraded version.  That goes for those of you using a red kid’s plastic sled too, as dumping your gear twice down the landing doesn’t have to happen.  Again, modern versions offer walled sides and roto-molded construction that offer rigidity without all the weight.  Look for versions that come with a rope and you’ll know it’s not the heavyweight editions meant to be towed by machine.

Shelters – Winter is cold, even in the warmest of seasons, so it’s still good to carry a shelter, but it might be time to look into a one-person or hub-style shanty.  Hubs are great values, and a wonderful utilizer of space/weight.  You get a great plenty fishable area, and they zip into a pouch tent-style, allowing you to carry in a car or other smaller vehicle with ease.  If you’ve never fished in a hub-style shelter, this winter is a great reason to give them a try. 

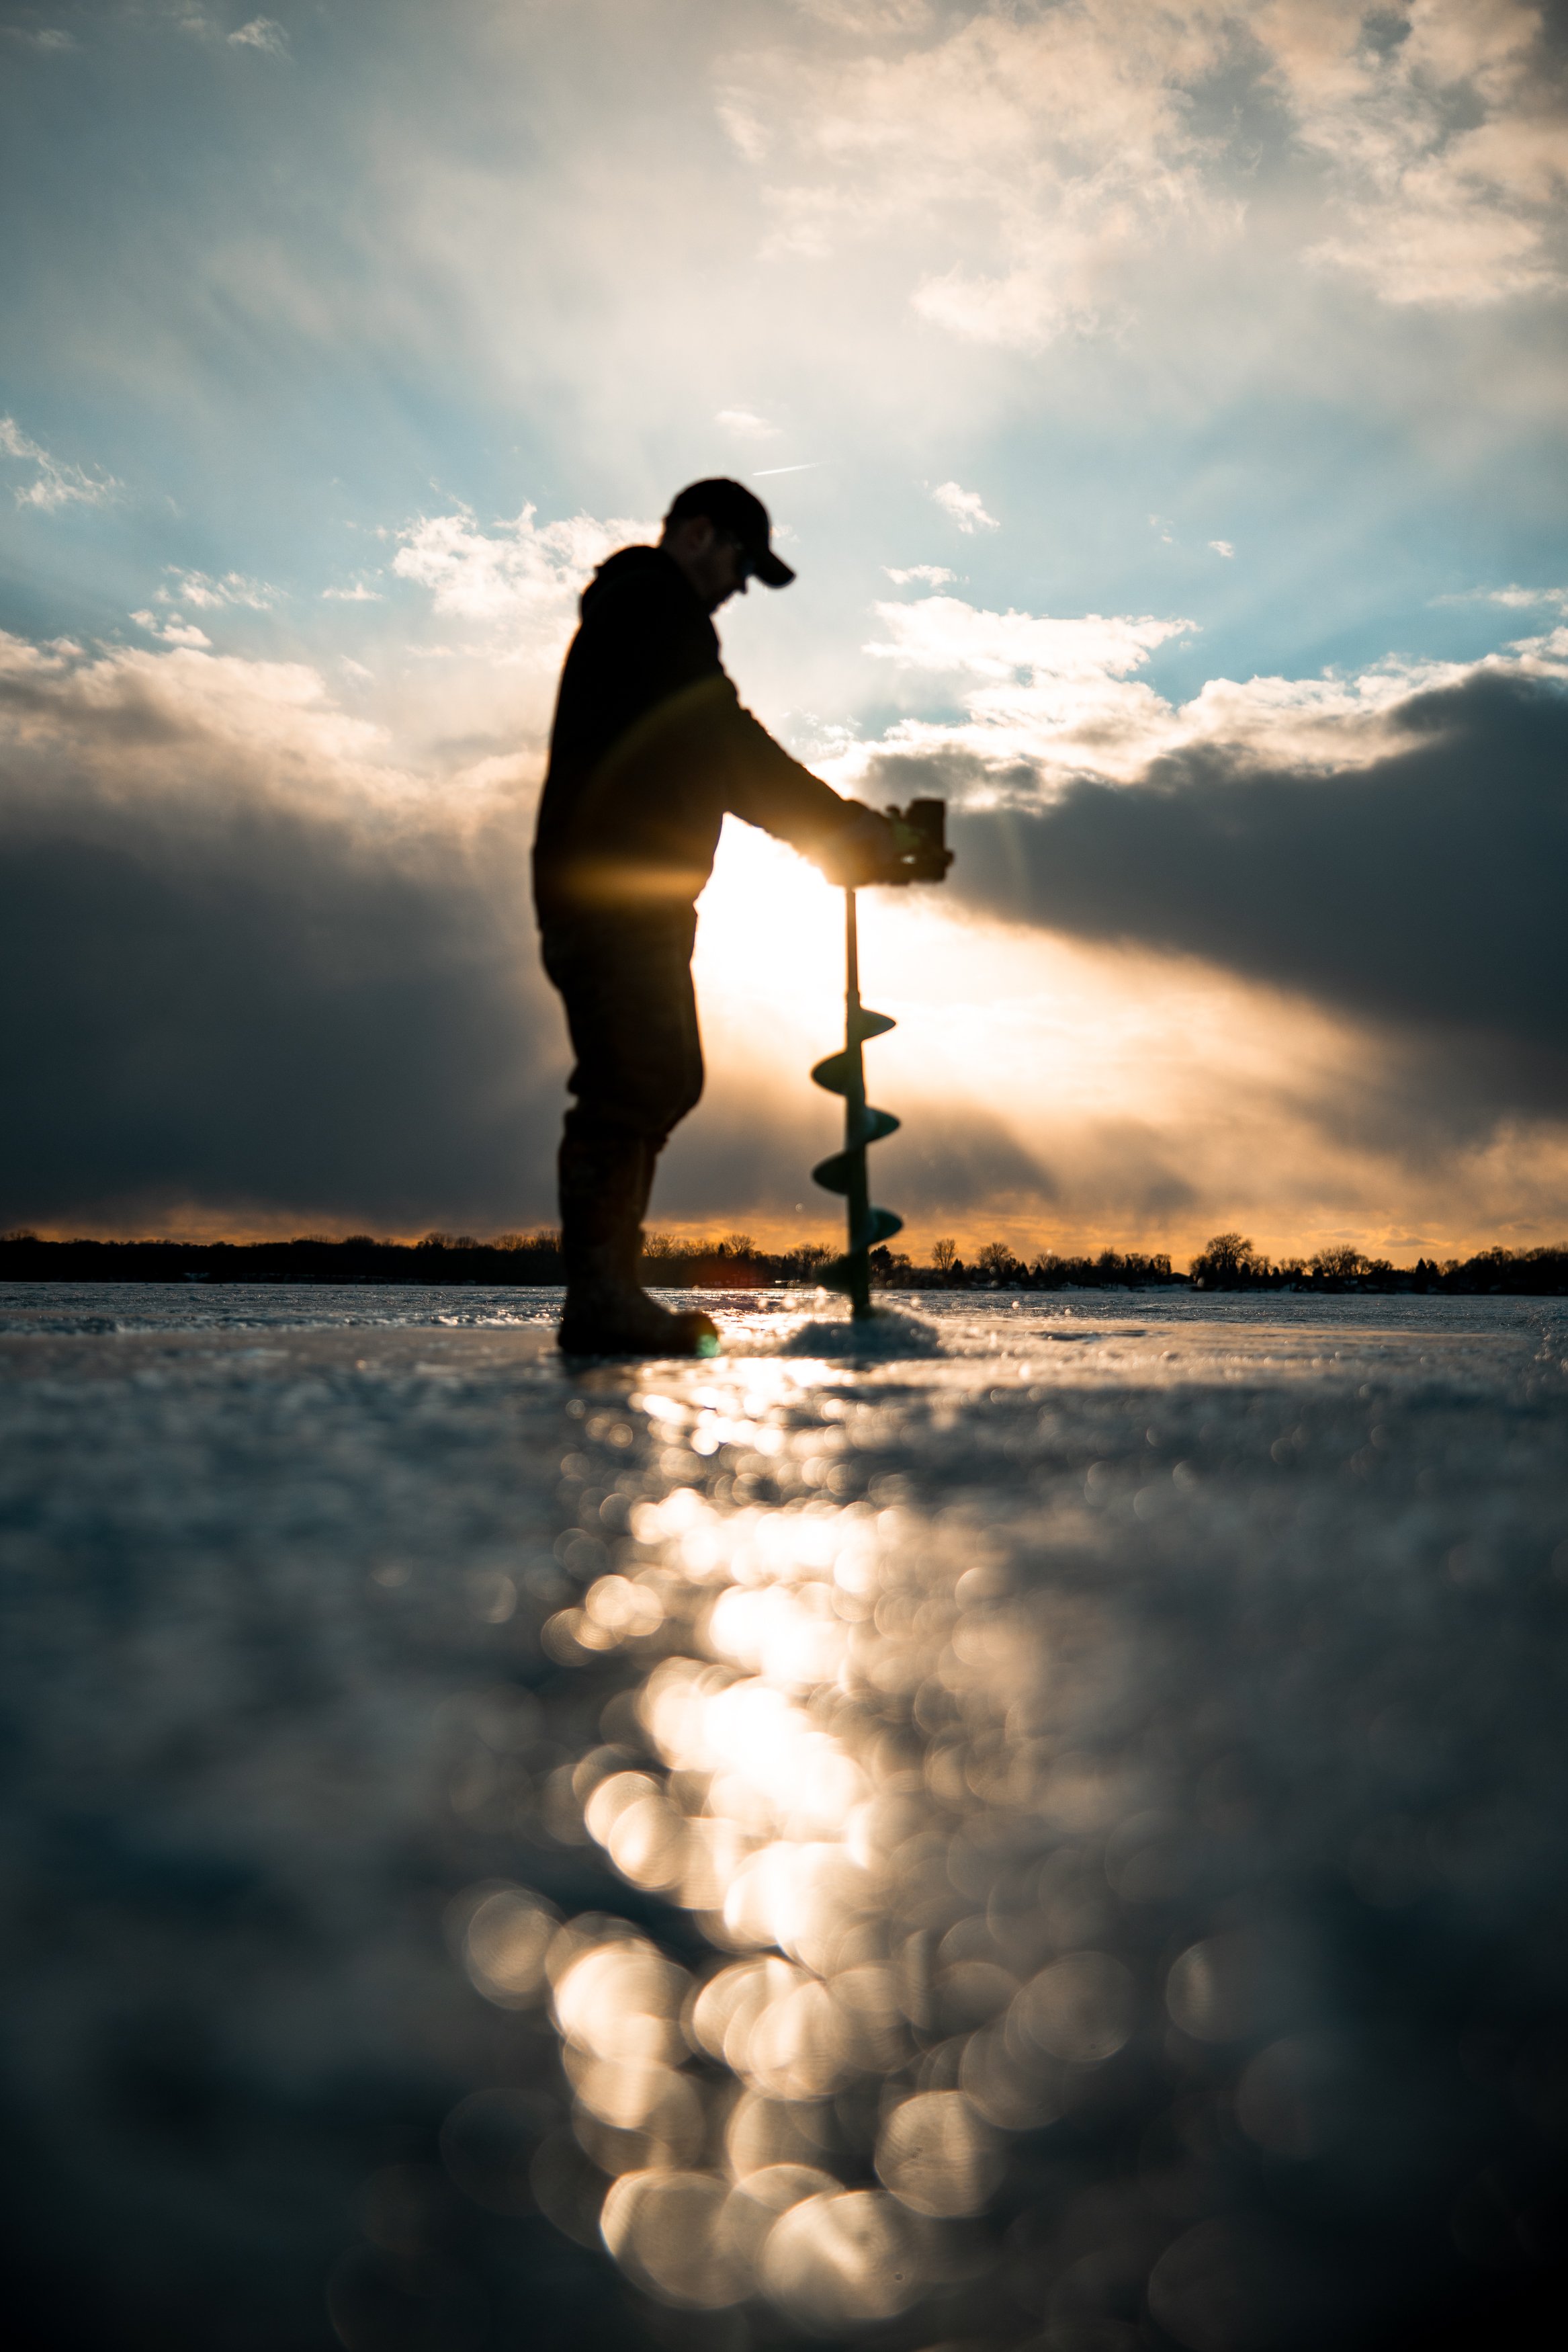
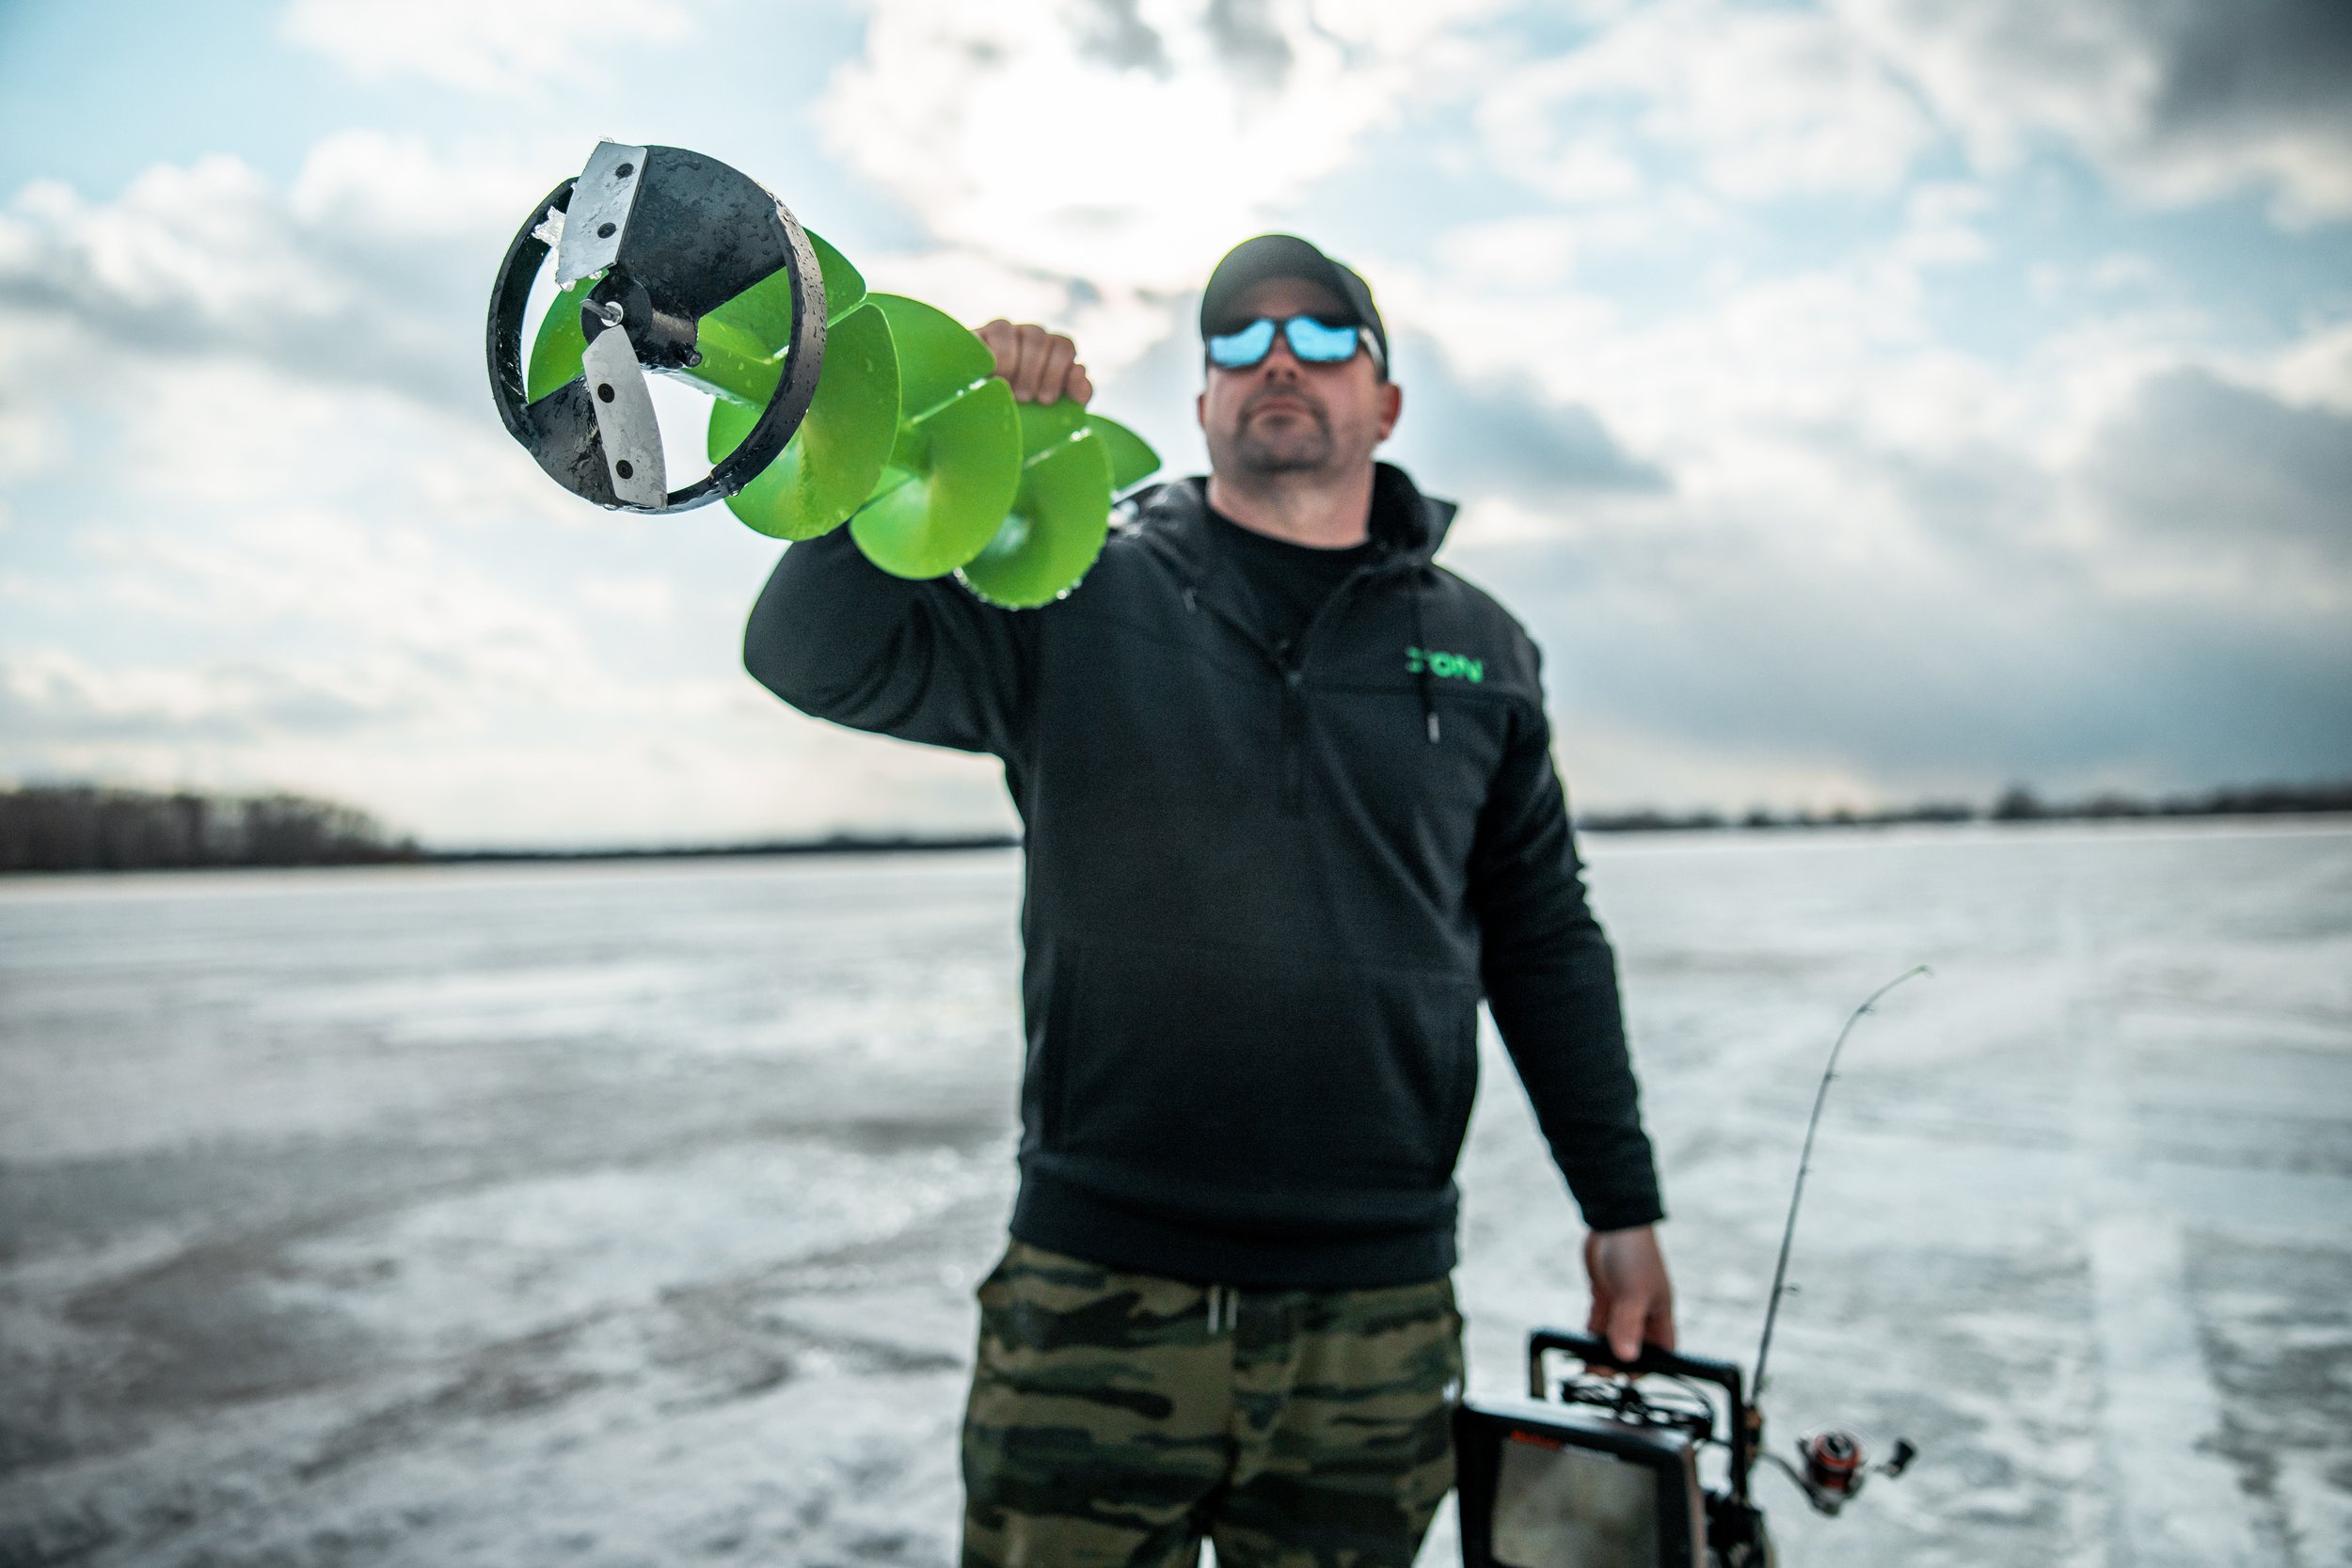
Auger – Hand-augers are tough to beat for saving pounds, but in mere days to weeks, synthetic drill adaptive augers will be the clear choice for shaving ice and weight.  Even augers with a dedicated powerhead that’s synthetic will drop 4-6 lbs. from steel-bit versions.  My experience is that they’ve been every bit as durable too, so there’s not a penalty for running synthetic except for initial investment.

Batteries – If you haven’t made the switch to Lithium yet, you’re missing out, and more importantly, carrying more weight than you need to.  From a flasher battery to having power to light up your shelter, there’s the potential to save up to 5 pounds or more depending on the battery style you’re replacing.  They come with more than just added mobility and comfort on ice too, as you’ll experience longer run-times and better reliability overall.      

Heat – Here’s where a number of ice anglers still overload their sleds, starting with a 20 lb. propane cylinder.  Now, there are re-fillable 1lb. cylinders which offer both cost savings over the long-haul, and the extra space afforded by only having to pack a handful of smaller cannisters for an evening fish.  With everyone wearing modern fabrics inside of insulated shelters, the need for sunflower heaters of old has also faded.  While their plastic and ceramic counterparts are a touch lighter, they can be less durable, so it's best to treat them kindly on the pull to and from your spots. 

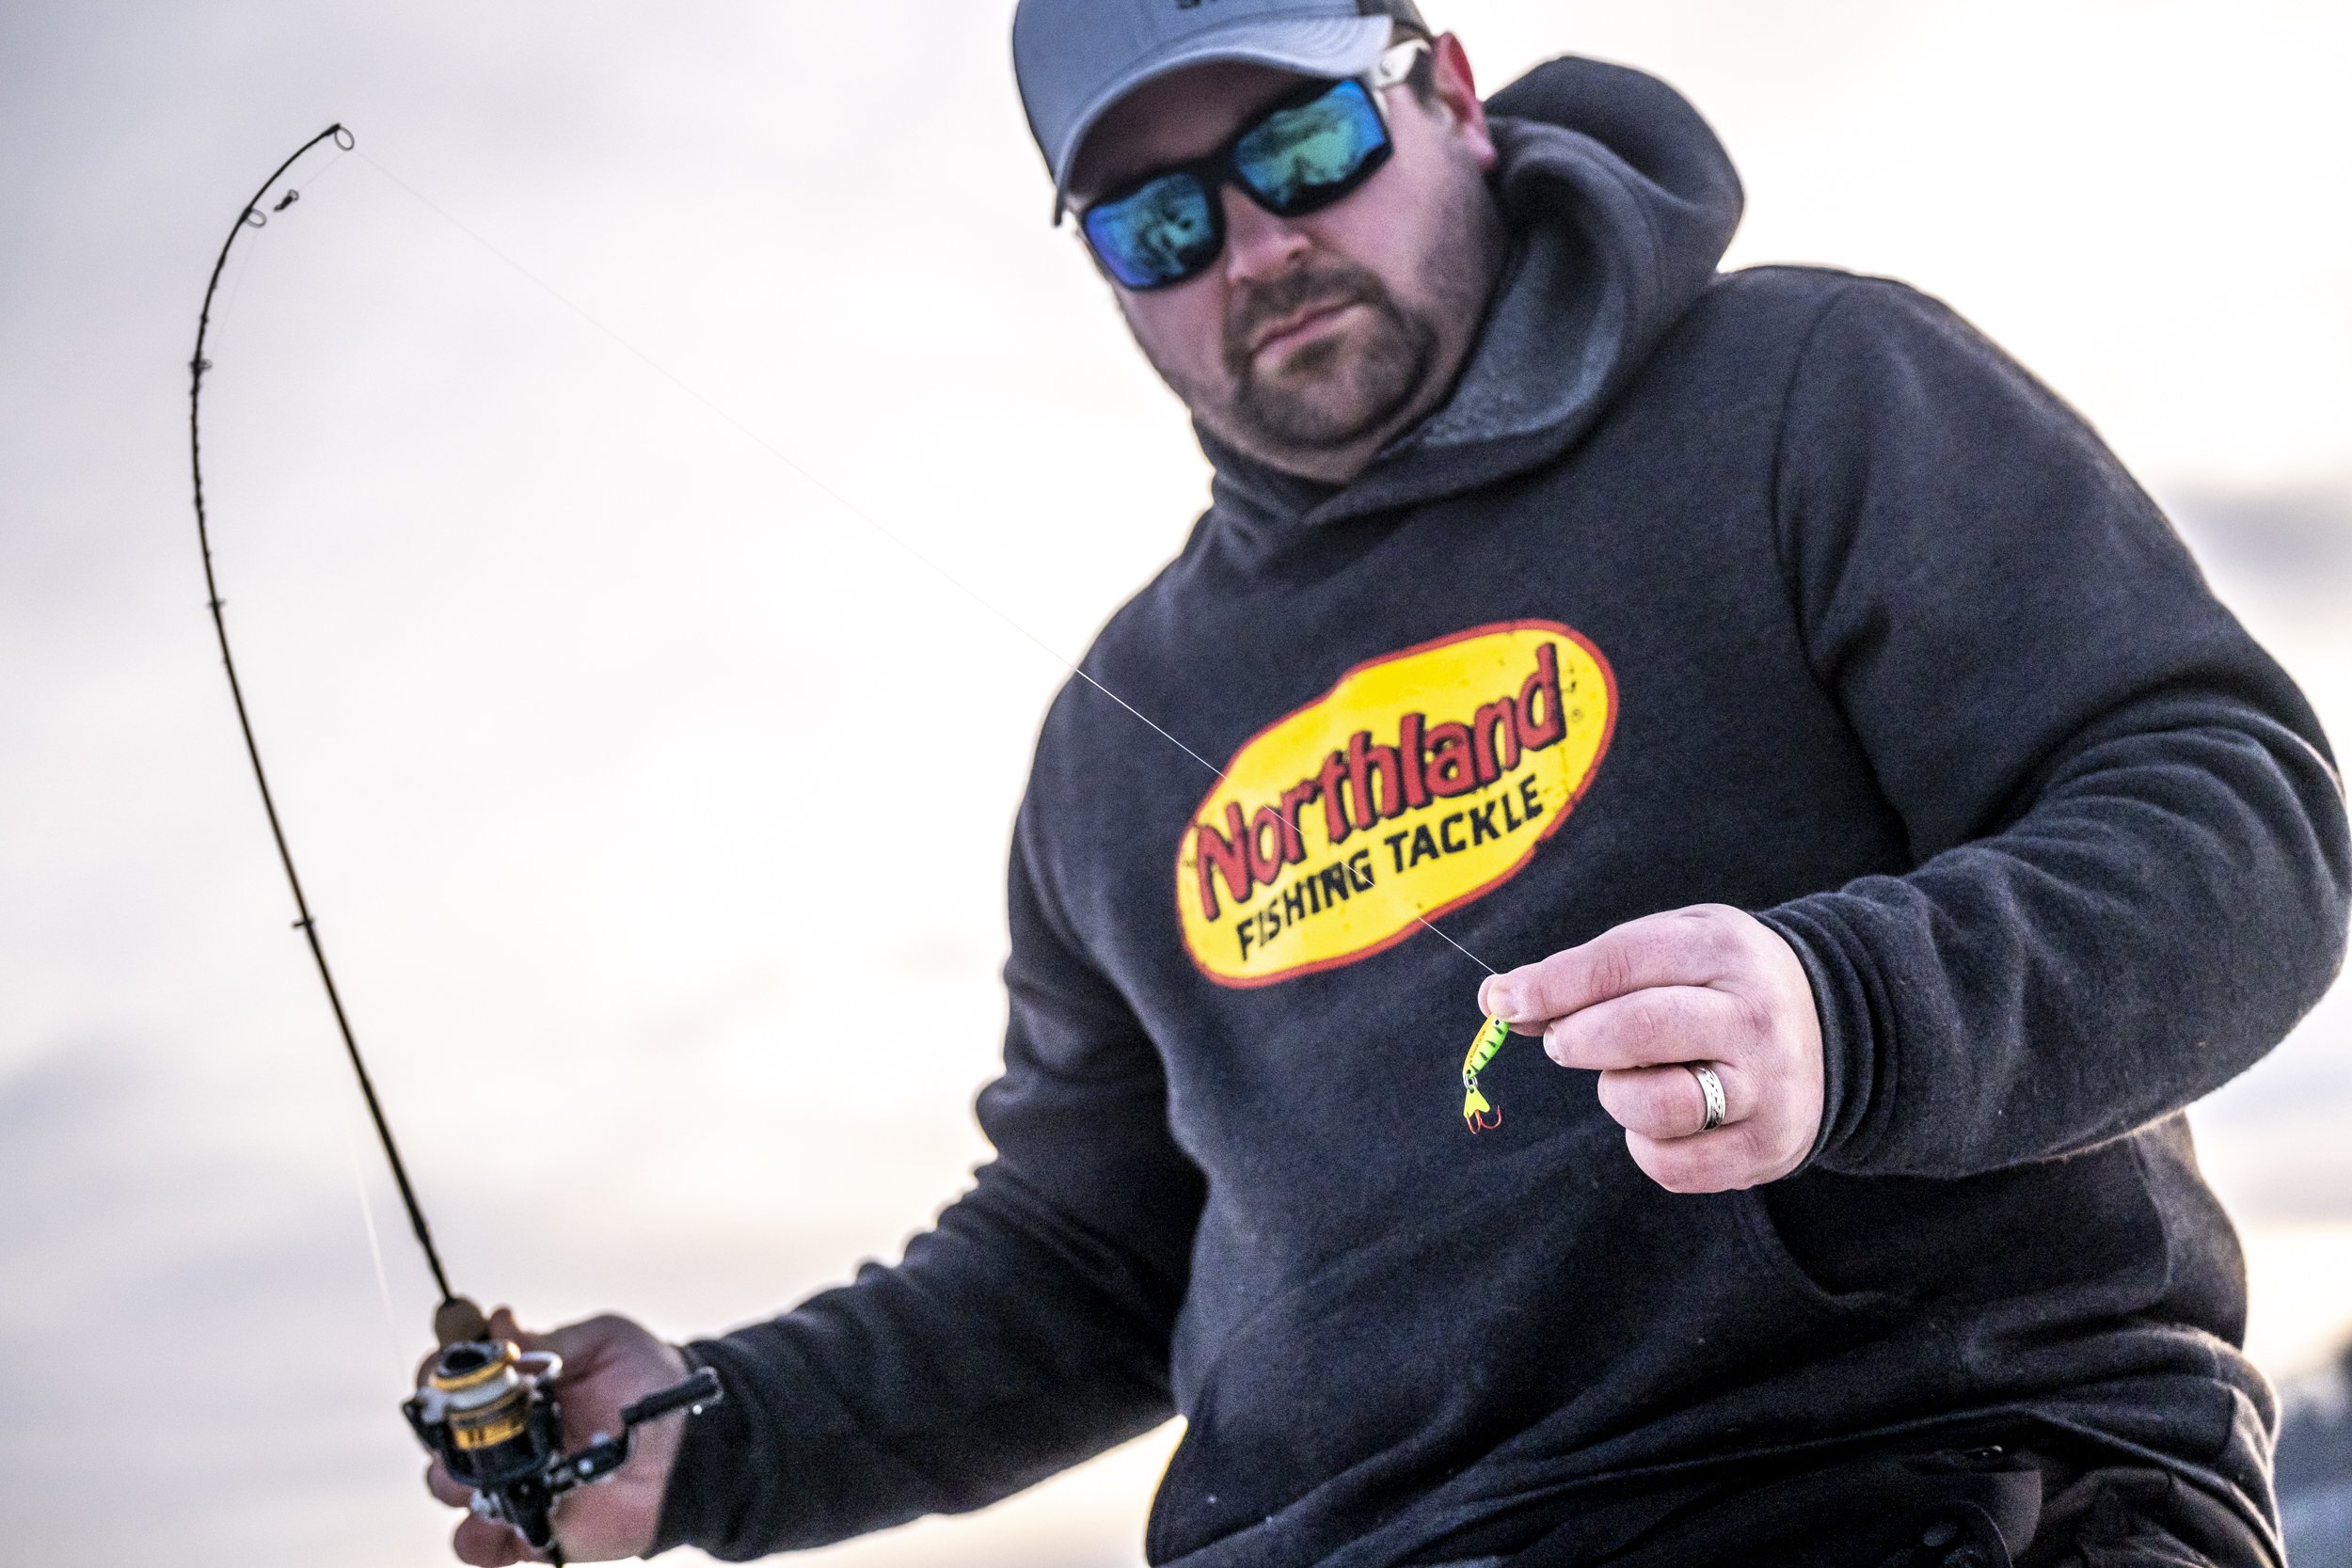
Accessories – As ice anglers, it’s often the extras that get us into trouble when it comes to weight.  Additional electronics, fancy bait buckets, and heavy-duty rod cases don’t always have a place when it comes to first ice hand-hauling.  Think minimalist to get the most from these early season fishes, knowing you’ll be cursing every ounce you overpack especially on the long hauls.

One heavy item I won’t do without is the ice chisel and other safety items that come with it.  I’ve always got a throw rope and picks to go with my heavy-duty chisel for ice testing.  In recent winters with poor ice formation, I’ve found bubble-holes and other small barely frozen spots that would certainly eat a truck and anything attached.  That’s when surrounded by up to 16”es of ice or more.  Just keep in mind that ice freezes inconsistently, and especially in a year like this one, it never hurts to chisel or drill extra holes just to monitor ice thickness.  Drill a perimeter of known thicknesses and stay within it for maximum safety and you’ll been happy that your hyper-light gear stays dry.    

The Search for the Perfect Ice Fishing Auger

The Ion Alpha checks all the boxes for speed, weight, cutting capacity, and cost.

Once deer season is over for many of us and the calendar flips, so too does our interest turn to ice fishing.  If you’re like me, that starts with some equipment review and accounting.  I look at what I can live with and what I need to replace, which always tends to start with the big-ticket items.  Shelters, electronics, and ultimately, the one tool that is necessary to do it all – your ice auger.  No hole means no fishing, and these days, there’s a pile of ways to drill ice and get your fix when the hardwater hits. 

Five years ago, I would’ve started the discussion with gas-powered offerings, and made a small mention of some electric options for those so inclined.  These days, it’s completely the other way around.  Electric augers dominate the market, and gas options are for those drilling through the thickest Canadian Shield ice and doing so in great volume.  For good reason too, carburetors are messy and so is the fuel that drives them, while electric is clean, easy, and increasingly just as powerful.  It’s also lighter, so if this is the year you go electric, I’ll focus the discussion squarely on your options with Lithium battery powered ice augers.

While it would seem that our options have grown with two or three sets of fuel options powering ice augers, in reality, there’s less augers on the market than in the gas days.  Manufacturers have narrowed down options in electric to less than a dozen contenders, and that’s a good thing for the consumer.  It’s a testament to how versatile electric augers are, from drill adaptive types that are literally just an auger bit where you supply a cordless drill, to dedicated auger bit plus motor options that can do a great deal more than their gas-powered predecessors.  All the positive attributes of electric have simply reduced the need for additional models.

From here, it really comes down to the big 4 attributes that should dominate your decision-making process:  

Speed – For several years now, the market has commanded speed, which is a consideration for most consumers buying a new auger.  Speed is listed as a metric in inches per second, with augers drilling in the 3+ inches/second for an 8” drill being extremely fast.  Speed doesn’t just give you an ego boost on ice, it makes your day considerably more productive with less effort.

Weight – Initial electric auger offerings were in the 22-24 lb. range, and though they were revolutionary in design and power, offered few other attributes to anglers.  After more than a decade of design and improvements later, augers these days tip the scales as much as 10 lbs. lighter.  The overall idea is that the best auger doesn’t accomplish much if you’re too tired to drill more holes with it, as it’s more desirable to spend your energy fishing, not just drilling holes.

Cutting Capacity – This number describes the total volume of drilling you can perform on a single charge, often expressed in terms of the inches of ice you can drill.  In effect, this metric tells you roughly the number of holes you’ll be able to drill on a given day with one battery.  2000”es is on the high end for most 8” augers, and it’s like bowling, you want a high score here unless you know you’re only drilling a handful of holes each day. 

Cost – Fully equipped augers these days with drill bit and motor come in around the $500-$600+ range, but have different options with at times, multiple batteries, poly vs. metal auger flighting options, and of course brand.  If you do your homework, you’ll end up with an auger that excels in the above attributes – speed, weight, and cutting capacity – at the most reasonable price. 


Additional Considerations

When shopping, make sure you’re comparing apples to apples in terms of these attributes, but also consider a few other variables.  Aggressive, curved and extremely angled blades will often cut faster but can be difficult to re-drill old holes with.  Flat blades, or slightly angled and non-curved options can make it smoother to cut ice with overall.  We don’t want speed to come at the expense of the drilling experience, where you feel like you’ve been beat up after a day of fishing. 

Warranty is another consideration, as though issues with this technology are few and far between, anything mechanical can fail at any time.  Look for the longest warranty out there, both on the full auger itself but also the batteries.  With lithium batteries, again, issues are few but these powerplants drive a great deal of expense for the auger.  That means your entire purchase should be covered including the batteries as they can fail, especially in the conditions we drag our ice gear out into.

The newest designs of augers also have a variable trigger speed option, meaning that if you press down lightly on the throttle button, the auger turns slowly.  Press down fully and the bit spins full speed.  Adjust the pressure you put on the button, and you can drill at whatever speed you like.  It’s a premium feature that allows easier cutting in a fish-house without throwing ice chips everywhere, and helps start new holes, redrill old holes, and drill touching holes far more easily.  Consider it a requirement if you’re looking to buy new anyway. 

Ultimately, we’re looking for an auger that drills quickly and smoothly, is lightweight, and can drill the most holes on a single charge without breaking the budget.  Premium augers in the category will offer the best of these options and be on the higher end of the price scale, yet present the best value by far considering what you’re getting.  You get what you pay for, but price shopping never hurts provided you go into it eyes wide open, knowing exactly what you’re getting in terms of inches cut per second, total weight, and the cutting capacity on a single charge.     

Which Otter Sled to Buy? Pro Sled or Sport Sled?

Which Otter Sled to Buy?  Pro Sled or Sport Sled?

If you’ve done your homework, you already know that Otter Outdoors makes the best sleds on the market.  But did you know there are differences between the sleds that Otter offers?  They’re both roto-molded, which makes for the sturdiest, longest-lasting sleds on the market.  It’s a real feather-in-the-cap for any manufacturer to utilize roto-molding in designing durable outdoors equipment, given the lengthy successful track record in a host of products of the years.  That said, in terms of sleds, beyond roto-molding, the Pro Sled vs. Sport Sled features diverge from there. 

Why Roto-Mold?

Rotational molding of sleds is a pretty simple process, where a hollow mold is filled with a powdered or pelletized plastic resin.  The mold is rotated upon its axis in multiple directions while heat is applied, melting the interior plastic and coating the walls of the mold uniformly.  The mold is cooled, rotation is stopped, and the sled is popped out of its form for later use. 

While the process is straightforward, the results are superior in design from that of other sleds.  Unlike competitive processes, roto-molding produces no pinch-off seams or weld-lines, resulting in a fully-finished final product.  That’s why, no matter the industry or application, roto-molding is the construction method of choice for products that require high-quality finishes, uniform wall thickness, high stability, and long-life durability. 

To further understand why roto-molding is the construction method of choice for sleds, it might be best to discuss “why-not.”  The disadvantages of roto-molding are primarily born by the manufacturer, from the high cycle times it takes to rotate each sled, the higher cost of raw materials, and the increased labor costs needed to generate a single product, the negatives are a positive for the end consumer.  You get a stronger sled that’s more stable and durable, with consistent thickness from front to back.  That means the corners and traditional weak and wear-points on other sleds aren’t an achilles heel for roto-molded varieties.  It’s a superior product that requires specialized construction. 

Sled Uses

Likely, you’ve hand-town the red, kid’s plastic sleds with all of your gear and dumped it out several times on the way to your spot.  I know, because I’ve done the same over the years.  Even when auger, shelter, and all your gear is strapped into these sleds, all it takes is a rut, small bump, or ice chunk to unsettle the load and strew it upon the ice.  You’re here because that’s getting more than annoying.

Or perhaps you’re using the sled for more utility purposes.  Hauling a deer out on ATV, pulling some cut firewood on the snowmobile, or dragging some landscaping rocks around the yard with your mower.  I could go on and on with the list of things I’ve used an Otter sled for around the farm or around the yard.  From backyard mulch to boulders, the sheer number of utility applications for a sled are incredible. 

Yet, for each of these use-cases, the rigors of the terrain and conditions may cause for separate sleds.  Regretfully, there is no one-size or one-type-fits-all approach to selecting a sled for your needs.  There’s just too much variability in use, and too many features that each the Pro Sled and the Sport Sled possess which make them less interchangeable than you might think.  Which is a good thing.  Just like you don’t use your screwdriver for a punch or a wrench for a hammer, the right tool for the job is important for any outdoors-person.

Luckily there’s a few good ways to determine the right sled for each approach, and the first jumping off point, is determining what method of transport you’re using.  Simply put, if you’re hand-towing, you’re in need of a Sport Sled, and if you’re towing by machine, you want a Pro Sled.  It gets a bit more complicated from there, but that’s the major fork in the road. 

Sport Sled

The Otter Sport Sled is an interesting case.  Meant to compete-with, but outperform cheaper sleds in its class, it’s a sleigh that works perfectly in deep snow years and other times when you want to save weight and hand-tow out onto the lake.  It’s made with only slightly less material, resulting in a sled that saves nearly half the weight of the Pro-Sled in a similar size.  That weight savings is a primary advantage for anyone looking to ease a hand-drag of any distance.

Yet, what it shaves in weight is not skimped upon in other areas.  The Sport Sled still features high sides to corral gear into place for uneven treks.  It also maintains a high raised back-wall for security of gear, giving longer and shorter items in the sled something to brace upon when going up an incline.  There’s a tow rope included, which can be extended with a rope of your choice for longer drags.  Surprisingly, the side-wall stability of the Sport Sled could be the best feature of the product.  Otter managed to cut weight on the overall product without sacrificing how substantial it feels or the overall stability of the sled itself. 

If you’re hand-dragging, this is the premium sled in its category.  The angle of attack on the front of the sled climbs over uneven ice or boulders at the landing, then maintains and even and easy pull when out on the flat stuff.  Small ridges collect meltwater inside the sled to keep your gear dryer, but also serve as rails when pulling on sheer ice or snow, providing some directionality to the pull while improving the experience to the person putting in the effort.  The raised and rolled-over edges accept a variety of bungie cords or ratcheting straps, and the material is tough enough to drill into, giving you options to customize how you strap, tow, or otherwise trick out your sled. 

Pro Sled

The Otter Pro-Sled is the original big brother to the Sport sled in every way.  Picking up and setting down the two of them side by side gives you an understanding of how substantial and durable the Pro Sled really is.  It is heavier, nearly twice as heavy as the Sport Sled, but it’s supposed to be.  The extra custom compounded polyethylene material is appreciated whenever machine towing is the order of the day.  Whether you pull with an ATV or snowmobile over the open ice, or simply tow around the yard with your lawn-mower, the Pro Sled is the strongest, most durable sled available on the market, period.

That durability starts with more than just extra material, but extends to where and how it’s utilized.  A raised front is perfect for attacking snow but preventing it from getting into the sled, and the raised rear provides extra room for gear to brace against and remain in the sled on faster tows across long distances.  A reinforced outer lip provides additional stability to the entire sled, preventing excess flex or twisting of the sled again when towed at greater speeds. 

A standard 5/16” bottom means that wear is less of an issue when towing, ensuring minimum overall degradation of the part of the sled that comes in contact with snow or earth.  Typically however, it’s recommended to install hyfax (think wear bars) rails that are bolted on to the bottom of the sled.  Not only do they improve tracking in snow, they extend wear to the hyfax and protect the investment you made in your Pro Sled.

Because of the increased thickness and durability of the sled, Otter has roto-molded hitch pockets built-in to the front of the sled.  That means no drilling into the front of the sled to secure a tow hitch, and no jeopardizing the strength of the sled by reducing the load to two small points of contact between tow vehicle and Pro-Sled.  These are points of contact that have never failed under normal use, and represent the single best way to connect a tow-vehicle to a sled.  The Otter tow-hitches are connected via two stainless steel pins that go through the roto-molded pockets, and connect back to the snowmobile or ATV.  This rigid-hitch construction means the sled won’t slam into the back of your vehicle when you come to a stop, and improves the life of your sled and the gear it hauls. 

Sizes and Accessories

Take careful note of the dimensions for each of the sleds you’re interested in.  It’s recommended that you measure your transport vehicle space if you’re stashing the sled in a truck or on a trailer, such that the sled itself fits in whatever space you need it too.  Also, take note that sizing isn’t the same between Pro and Sport sleds, meaning that a Medium Sport Sled does not have the same dimensions as a Medium Pro Sled.  Again, a tape measure is your best friend when selecting the correct and proper sizing for your application. 

Both sleds can be improved upon, if ever so slightly, by the addition of a few accessories.  For the Sport Sled, a cover that matches each size can really be much more effective than basic straps.  Not to mention, if snowing or pulling through deep snow, it keeps the interior of the sled and your gear dry.  While you can attach a universal tow hitch to the Sport Sled, as you’ve read, towing by machine is done much more effectively with the Pro Sled.

The Pro-Sled also has its own travel cover options, as well as more options to extend its use related to towing.  We mentioned the tow hitch, but there’s also the additional hitch pins for each end of it that simply fit perfectly to the sled and its hitching points.  There’s also the rear sled hitch receiver, which allows you to “daisy-chain” and tow multiple sleds end to end from the same tow-vehicle.  It’s a nice feature when you want to haul additional gear for specialized uses.  Hyfax is available as mentioned, but so is a really slick product called the hitch pivot.  It installs between the sled and the tow hitch, and allows you to fold your hitch over the top of your pro-sled and cover when transporting on truck or trailer.  It’s a real time-saver as you no longer have to pull pins in the snow and cold up tight and underneath the sled.

Final Bits

It’s useful to have a Pro Sled and Sport Sled both for the very different use-cases they each present, yet if you had to choose only one, think about the original question of hand-tow vs. machine-tow.  On top of it, consider how rugged you need it to be, as you shouldn’t expect a sport sled to perform the way a pro-sled would under extreme conditions or uses.  In either case, it’s a reasonable expectation that these sleds will last you decades.  Often, that’s much longer than the rest of your ice or outdoors equipment, so it’s an investment you make that reaps dividends over the long-haul.  That makes either the Pro-Sled or the Sport-Sled a great piece of outdoors gear that you can count on for years to come. 

Traveling with your Catch

It’s no secret that I love fishing wherever I can and feel strongly that fishing outside your comfort zone will make you a better angler, no matter the species.  Yet, there’s a primary wrinkle in the framework of enjoying that catch, especially if you travel far and wide.  Air travel or even length trips in the truck call for some specialized equipment and even more special treatment of the fish themselves.  Though there may be no one-size-fits-all solution to traveling with a bag of fish fillets, here’s a few considerations to take into account.

Airline Travel

Though this may be the most challenging portion of the subject, it could be the most worthwhile.  In the past few years alone, I’ve been faced with getting everything from halibult in Alaska back home, to blue crab and redfish from the Chesapeake bay.  Each scenario posed its own challenges, primarily in the form of volume.  In the AK example, we had nearly 70 pounds of salmon to come back as well, and in Virginia, I was looking at roughly 20 pounds.  Let’s use these two examples to break down a few strategies.

In most instances, it pays to check a bag here, especially if you don’t pay to check said bag.  Utilize an airline-specific credit card, promotional offers, or reasonable checked luggage prices from select airlines to permit the opportunity of a checked bag.  In some cases, if you fly enough, you’ve got the option to check several bags, or at least one bag per person flying.  If you have to utilize that checked bag for your traveling companions, it’s often worth the effort, which does require some pre-planning.

In recent trips, I’ve checked a cooler on the way out to my destination, and when I brought it back, ensured it was full of seafood.  That comes of course with some hiccups too, from latches and sealing, to making sure you’re underweight when it comes to your checked coolers.  In one instance, I was with a friend who flew Delta Platinum, and could carry up to 70 lbs. on each back, which was really handy for the salmon.  As a Delta Gold member myself, I was able to carry 50 lbs. which works for most cases, provided the cooler isn’t too heavy in its own right.

We start by freezing all of our fillets solid in camp, preferably with a vacuum sealer if on hand.  Then, take careful note to separate the fillets and lay them out in the camp freezer, again if possible.  Singular, individually packaged groups of fillets when layed out in this way freeze more solid, and therefore stay better frozen when traveling.  Still, unless you’re filling the cooler to the top with fillets, it’s best to at least fill empty space with towels, a random hoodie, or large frozen chunks of ice where available.   

Soft-sided Coolers with extendable handles and wheels make airport travel easier.

I’m a big fan of hard-side coolers when it’s possible to use them, for a number of reasons.  Durability is but one, but the ability of a well-insulated, hard-side cooler to keep frozen items frozen over a longer duration is probably the chief concern for most anglers.  Still, the roto-molded, ultra-insulated varieties both take up valuable checked luggage space, but also are heavy.  For that reason, you may need to go with a quality soft-sided cooler, or a smaller hard-side that both permits some volume of fish, while also staying light-enough in weight to not exceed your checked baggage standard.  Of course, there’s always the rugged and reliable cheaper hardside coolers.  I’ve used those before too, though most do not have wheels (which is a challenge in an airport), and the latches rarely stand up to long-term use.  For that reason, we have often completely duct taped the entire cooler lid to the cooler in multiple spots.  Not only does it keep the lid secure, it notifies you if anyone has tampered with your luggage. 

Truck Travel 

This option is probably more familiar to most people but does also take some considerations.  I’m typically traveling across country, and tend to keep two coolers onboard when fishing.  I keep a smaller rotomolded option in the back of the crew-cab for snacks, drinks, and anything like smoked fish I may pick up on the way, and I keep a larger cooler under the tonneau cover of my truck for volume.  It’s amazing how nice this 1 -2 cooler punch works out when taking big trips, and the options you have for a variety of fish and game. 

The smaller cooler in the cab is stocked from home with soda, water, and a variety of refrigerated snacks that keep me from having to make costly stops to gas stations that have the same items at a mark-up.  On longer trips where I’m often in charge of my own breakfasts and/or lunch, I’ll stop at a grocery store at our destination and fill up the bigger cooler in the back with just enough to get me buy a number of those meals.  Usually, if I am taking home fish, I have already cleaned out the big cooler, or can put extras in the small one, and, I’ve created space for the fillets I intend to get home. 

Keep in mind that some states require a skin patch per fillet or so for identification, so it can be best in those instances not to freeze fish while at your destination.  Instead, keep them on plenty of ice throughout the length of your stay, and consider keeping fish only the last day or so of your trip to ensure the freshest meal possible.  Regular ice does the trick, but I find that large frozen milk jugs will extend your cooling over a couple of days, even in really hot weather.  That, and it extends the duration that your smaller cubes stay whole in the cooler as well. 

Often, I’ll keep my fillet kit inside a one-gallon Ziploc bag and stow that in the big cooler as well.  This kit usually consists of a larger and smaller fillet knife, plenty quart and gallon sized freezer bags, and some specialized soap to get fishy smell off your hands (individually packed in its own plastic).  I always keep this in the truck, as I never know when I might need to fillet some fish, and there are times where I’ll even bring an electric knife and/or a vacuum sealer if I intend to run into and keep larger quantities of fish.

It's amazing how easy it is to keep a few fish at any destination, especially if you’re prepared.  At the same time, I’m also mindful of not necessarily focusing on a “limit” wherever I go.  Fish are a nice treat for me, but rarely the highlight or the sole mission on any adventure.  Even at the fish-factory type lakes where mechanized fillet harvesting is as much a business as the fishing itself, I’m content to enjoy some fish dinners at the lodge and maybe not take any fish home at all.  Regardless of which suits you best, going into it with a plan makes for an easier effort all around.   

Three Rods Every Ice Angler Needs

If you had to boil down your ice fishing flotilla of rods to just three simple sticks, there would be some regretful groans.  It’s really doing your fishing a disservice, especially if you’re after multiple species on a host of water bodies.  That’s doubly true given all the advances in rod technology these days, from titanium guides that resist freeze-up to tubular, hollow blanks that every bit resemble the evolution of open-water rod improvements over the years.  It’s a hard time to start doing without extra options, especially with there being so many good ones out there.

At the same time, if you’re building up a fleet of rods, or you’re looking for the simplest, jack-of-all-trade blanks that can literally do it all, three blanks is a great challenge.  You’ll need to think multiple species, but also multiple techniques.  Center mass in terms of baits presented to most fish, along with options that might involve live-bait as well.  Here’s the rods I would select given that conundrum, not in any particular order.

1/8 oz. Spoon Rod – My thinking about perch and walleye rods was forever changed by a man named Pat Smith who worked at Thorne Bros. back in the day.  Pat would wax nostalgic about rods that would fish specific baits exquisitely well, and we would do our best to sponge up all we could given the materials and methods used back then.  He would say, “look in your box, probably 60% of your walleye and perch stuff is an 1/8 oz. spoon of some kind.” 

These days, the tubular rod designs like the St. Croix CCI Perch Eye Spoon Rod, offer incredible feel and control of the bait that just isn’t as possible with solid carbon blanks.  The feedback to the blank is superb, and you know what that spoon is up to 100% of the time.  In skilled hands, there’s no better way to present an 1/8 oz. spoon, which can be used in a multitude of depths, for a variety of species, whether a flutter spoon, rattle spoon, or even a lipless crankbait.  I can’t think of a better swiss army knife type rod. 

That is, unless you’re fishing outside, where a longer rod like the Spoon Hopper would be incredible, or with slightly heavier spoons, where an Outside Eye would be the ticket.  And so it goes, with a slight wrinkle, comes a new rod that fishes that situation better.  That’s where the tinkering and specialization comes in. 

Noodle Variety

When noodle rods first hit the block, they were mostly just a novelty.  They bent from tip to end, and while you could certainly detect bites, you had to stand up and raise your arms to simply tighten the line and set the hook.  While exaggerated hooksets were just part of the problem, the frustration continued when trying to hold still, especially outside in a wind, as the blank would quiver from the slightest vibration.  Noodles quickly got better with the advent of custom ice rods, and quickly, a few changes were made.  The base of the blank was thickened and stiffened, creating this diving board effect where the end of it gave, but only to a point before backbone was reached and a proper hookset could be given. 

These days, the perfect feel for nearly all panfish involves a rod that can fish tungsten, which isn’t as easy for your run of the mill noodle.  Tungsten fishes heavier and quicker than lead, which means it can deflect the blank much more readily, offering the angler a great visual but little control over the baits motions or cadence.  That’s where the Tungsten Tamer cuts in.  It’s a rod that fishes tungsten with supreme precision, but also can detect up-hits or small bumps.  It’s really the perfect rod for so many panfish situations, because most anglers are fishing tungsten of some type. 

Live Bait Deadstick Rod

I can’t think of a time where I was fishing walleyes where I didn’t have, or at least want, a deadstick option in the setup.  So many times, walleyes and perch both will approach an active jigging presentation, only to snub it and swim away.  Tease that same fish with a jigging spoon, and offer it a live-bait snack mere feet away, and you’ll catch a pile more fish daily.  It’s just that simple, more fish caught by having that live-bait rod option down.

Traditional deadsticks were light at the tip, and likely not heavy enough at the base, especially for a walleye.  They were meant to monitor free-swimming shiners, suckers, or other minnow species as they went about their business at depth.  Excited minnows were likely being circled and surrounded by hungry fish, and dead minnows just didn’t kick so they needed to be changed out.  Many previous deadsticks required careful watching and the right rod holder to make sure the entire rod bowed to the fish itself.  Otherwise, the fish might feel resistance and ultimately drop the bait.

These days, the St. Croix Custom Ice “House Rod” is the best of the best in terms of design and effectiveness.  I love the Deadeye Rod too, but the House Rod is perfect for so many rod holder designs that need a full cork grip to function perfectly.  I can watch a minnow swimming from across the Yetti, but also have the strength and power I need to drive a hook home when it comes to the moment of truth.  The Deadeye rod has more backbone even, so for trophy walleye applications and the possibility of pike or other large predators, that’s my go-to.  That said, if I had to choose just one, I’d own the House Rod.