WI-FI Onboard - How Connectivity is Improving Fishing Success

LOW-1526.jpg

Increasingly, our entire world is becoming wireless, from speakers that can order a pizza by simply asking for one, to Smart Home thermostat devices that can detect your presence to crank up the A/C a bit.  While some may argue to leave these modern amenities onshore, there’s no doubt that increasingly, such technologies are following us onto the lake.  If information is ammunition, we’re better supplied these days than ever before.  While most of the focus is on GPS/Sonar units at the dash of the boat, increasingly we’re tying more and more options into them.  Here’s just a few ways that digital connectivity is providing more successful outings.

Updating

Software updates are a part of life these days, even with our smart-phones.  The same is true for bug-fixes and fish-finder updates that can be done through your phone.  These updates can fix glitches or improve functionality of your graph, so it’s best to be running with the latest and greatest.  The last update I did on my boat electronics was actually through Wi-Fi, where I used my phone as a mobile hotspot, connected to that hotspot via my on-dash graph, and then downloaded the file directly into the boat.  From there, a simple “open” box allowed me to run the update, and after a quick re-start I was running the freshest version of software available.  Previously, we would have to take the graph to your desktop and connect via cables, or transfer via an SD card.  Now, I’m able to do the same thing from the lake provided I have a good cell signal.

Information Sharing

Most of the major GPS/Sonar manufacturers are offering “networked” options between your on-dash graph and other digital options in the boat, but why would you want it?  Networking your fish-finders together does cost more money, as these are typically upgrades from a standard setup, but they can result in an overall cost savings and ultimately prevent you from running back and forth from the cockpit to the bow to see what’s on each screen.  Ethernet cables and routing boxes help both the bow and dash fish-finders to communicate with one another, and that’s valuable in many other ways as well.  Some units can share cartography, negating the need to purchase a map chip for each unit, while others will share screen-shots, or even side-imaging views from the main dash unit thus allowing you to purchase a more economy model without side-imaging for the bow of the boat.  Fishing information, as well as other files and even music can be shared wirelessly or via auxiliary/USB cables to your on-board command center, making todays electronics far more than just a fish-finder.

Cartography

Digital contour maps are increasingly a major part of our fishing, as we strive to interpret underwater structure that may hold more fish.  You can rely on map-chips for that information, or you can purchase the Navionics App to view contours and your location on top of them directly from your phone.  This can be handy in a friend’s boat or when the App contours are more updated than the source you’re using.  Of course, you can also create your own high-resolution contours with the aid of specialized software that pairs with your GPS sonar to record locations, depths, and even bottom hardness.  That information is interpolated and processed onto a map card for your later use, and can always be updated with more passes across the same location and better information.


Boat Control

Technologically-improved boat control is probably the #1 way that new gadgets can up your catch-rate, and that happens through a number of ways.  Information sharing continues to trolling motor options, allowing on-screen control of everything from speed and direction, to navigation from anywhere in the boat to shared waypoints.  Networking your trolling motor then to the rest of your electronics allows for a simple, one-stop location from which to control multiple functions.  These can include anything from digitally anchoring (via “Spot-Lock” on the trolling motor) on a GPS location, to automatically deploying a telescoping rod into the lake bottom that pegs you in place, all from your command center at the driver’s seat of your boat. 

We have had wireless trolling motor controls for some time, but they are becoming less linked to your input via button pressing, and more directly tied to mapping, cardinal directions you pre-determine, or existing waypoints and routes.  More hands-free operation allows us to re-create a successful trolling run, continue down a specific contour at a certain heading, and casually spot-lock along the way should something be working well at a specific location.

At the end of the day, wireless connectivity means doing more things that used to take two-arms and a leg in an automated, no-hands fashion.  This frees us up to do more fishing, all while keeping our boat over fish and heading in a productive direction.  While I’ll always have respect for, and enjoy an old-school back-troller locking the corner of the boat against a stiff wind along a fish-holding weed line, I’ll also look for ways to enjoy fishing more.  If this floats your boat, then more power to you, but remember to be kind to the resource along the way.

Walleye Spinner Fishing - Prime Time Basics

LOW450-5474.jpg

Walleyes are on a serious chew right now in most of the local lakes you fish.  Sure, there are lulls in activity and certain days are better than others, but you couldn’t pick a better time to wet a line.  An exceeding demand for bait stretches the available supply as most lake systems are just ramping up in biological activity.  Baitfish are spawning, but that young-of-the-year flush isn’t of snack-size just yet, so predators lean on what food is currently available in the system.  Couple that with the fact that the predator fish’s metabolism is requiring more energy, and you have a recipe for some steady fishing.

What goes up, must eventually come down however, and in the coming weeks you’ll see a slow and steady decline in the amount of suicidal walleyes you encounter.  Fish will push out of the shallows and emerging weeds to more mid-lake structural elements and the outer edge of weedlines.  They’ll also encounter some of the first hatches of the year, and that’s when you’ll be ready to pull spinners.

When To Pull Spinners

The first major hatch of the year has always been a great time to start pulling spinner rigs, crawler harnesses, or whatever local name you’re used to calling them.  Spinners are not exclusive to the bait they carry, but nightcrawlers on the business end of your rigs will reap benefits as mayfly and caddis nymphs burrow out of soft lake bottoms then travel to the surface.  Walleyes eat more bugs than people realize, and spinners featuring a crawler presentation offer an enticing package of vibration, flash, and bug-like meat on the end of the line. 

Of course, you’re looking for the right fish in the right locations to pull on too.  Spinner fishing is typically a moderate speed approach to finding and catching walleyes, so you’re looking for fish that are near bottom, spread out along long breaks and occasionally clustered in pods across structural elements. 

Usually, your electronics will tell you what speed approach is best.  Fish scattered few and far between are often better suited for crankbait fishing, at least until you find them.  Fish tightly concentrated in small areas call for slower approaches like slower live-bait rigging or vertical jigging.  So often though, we’re faced with a mixture of both, such that the medium speed approach of spinners pulled in the 1.0 – 1.5 mph range doesn’t put all of your eggs in one basket.

Multiple Speeds

Given the preponderance of fish so often strewn across a break, and our tendency to find pods of fish as we continue to pull, the problem with traditional spinners has always been that speeds less than 0.8 mph or so, depending on the size and shape of the blade, don’t reliably turn the spinner blades for max attraction.  That’s where butterfly blades and smile-style blades come in. 

Both butterfly and smile blade designs turn at slower speeds allowing anglers the ultimate flexibility in pulling at standard speeds to find and encounter more fish, while dropping down to as slow as 0.25 mph over concentrations of fish you want to really stare at your presentation.  You cover two of the 3 major walleye speeds of delivery with a single system, giving you the ability to fine-tune your presentation as you go.  Smile blades have been around for some time, and are a bit more bendable, but aren’t as durable or put off as much vibration as the more rigid butterfly designs. 

Weight Systems and Extras

Using the right weight style, and appropriate size is paramount to success when fishing spinners of any variety.  Most anglers pull these rigs on a wire bottom-bouncer, with a general rule of thumb being one ounce of weight for every 10 feet of water you’re pulling in.  Bottom bouncers work great in most situations, but even taller weighted “sticks” are the order of the day for jagged rocks, logs or other extremely irregular bottom.    

Floats are another addition for many spinner anglers in snaggy conditions, or when fish are elevated a foot or more off bottom.  These are typically put in-line on the spinner rig, just in front of the hook, and can make all the difference with active fish. 

Slow-death style hooks with an irregular bend are another addition we’ve been seeing in recent years.  Proven over years on the tournament trail, this hooking method requires a special slow-death style hook, and a nightcrawler threaded all the way up the shank to the hook-eye.  The bend in the hooks and rigging of the crawler causes it to spin, and these style hooks are more commonly paired with spinners of all types these days. 

No matter how you pull a spinner rig, experiment with the various blades, additions, rigging methods, and weight systems covered here for the situation you’re facing on the water.  Pairing the right tweaks at the right time will have you prepared to zig when others zag, and have you fishing ahead of the curve. 

The Keys to Successful Jig Fishing

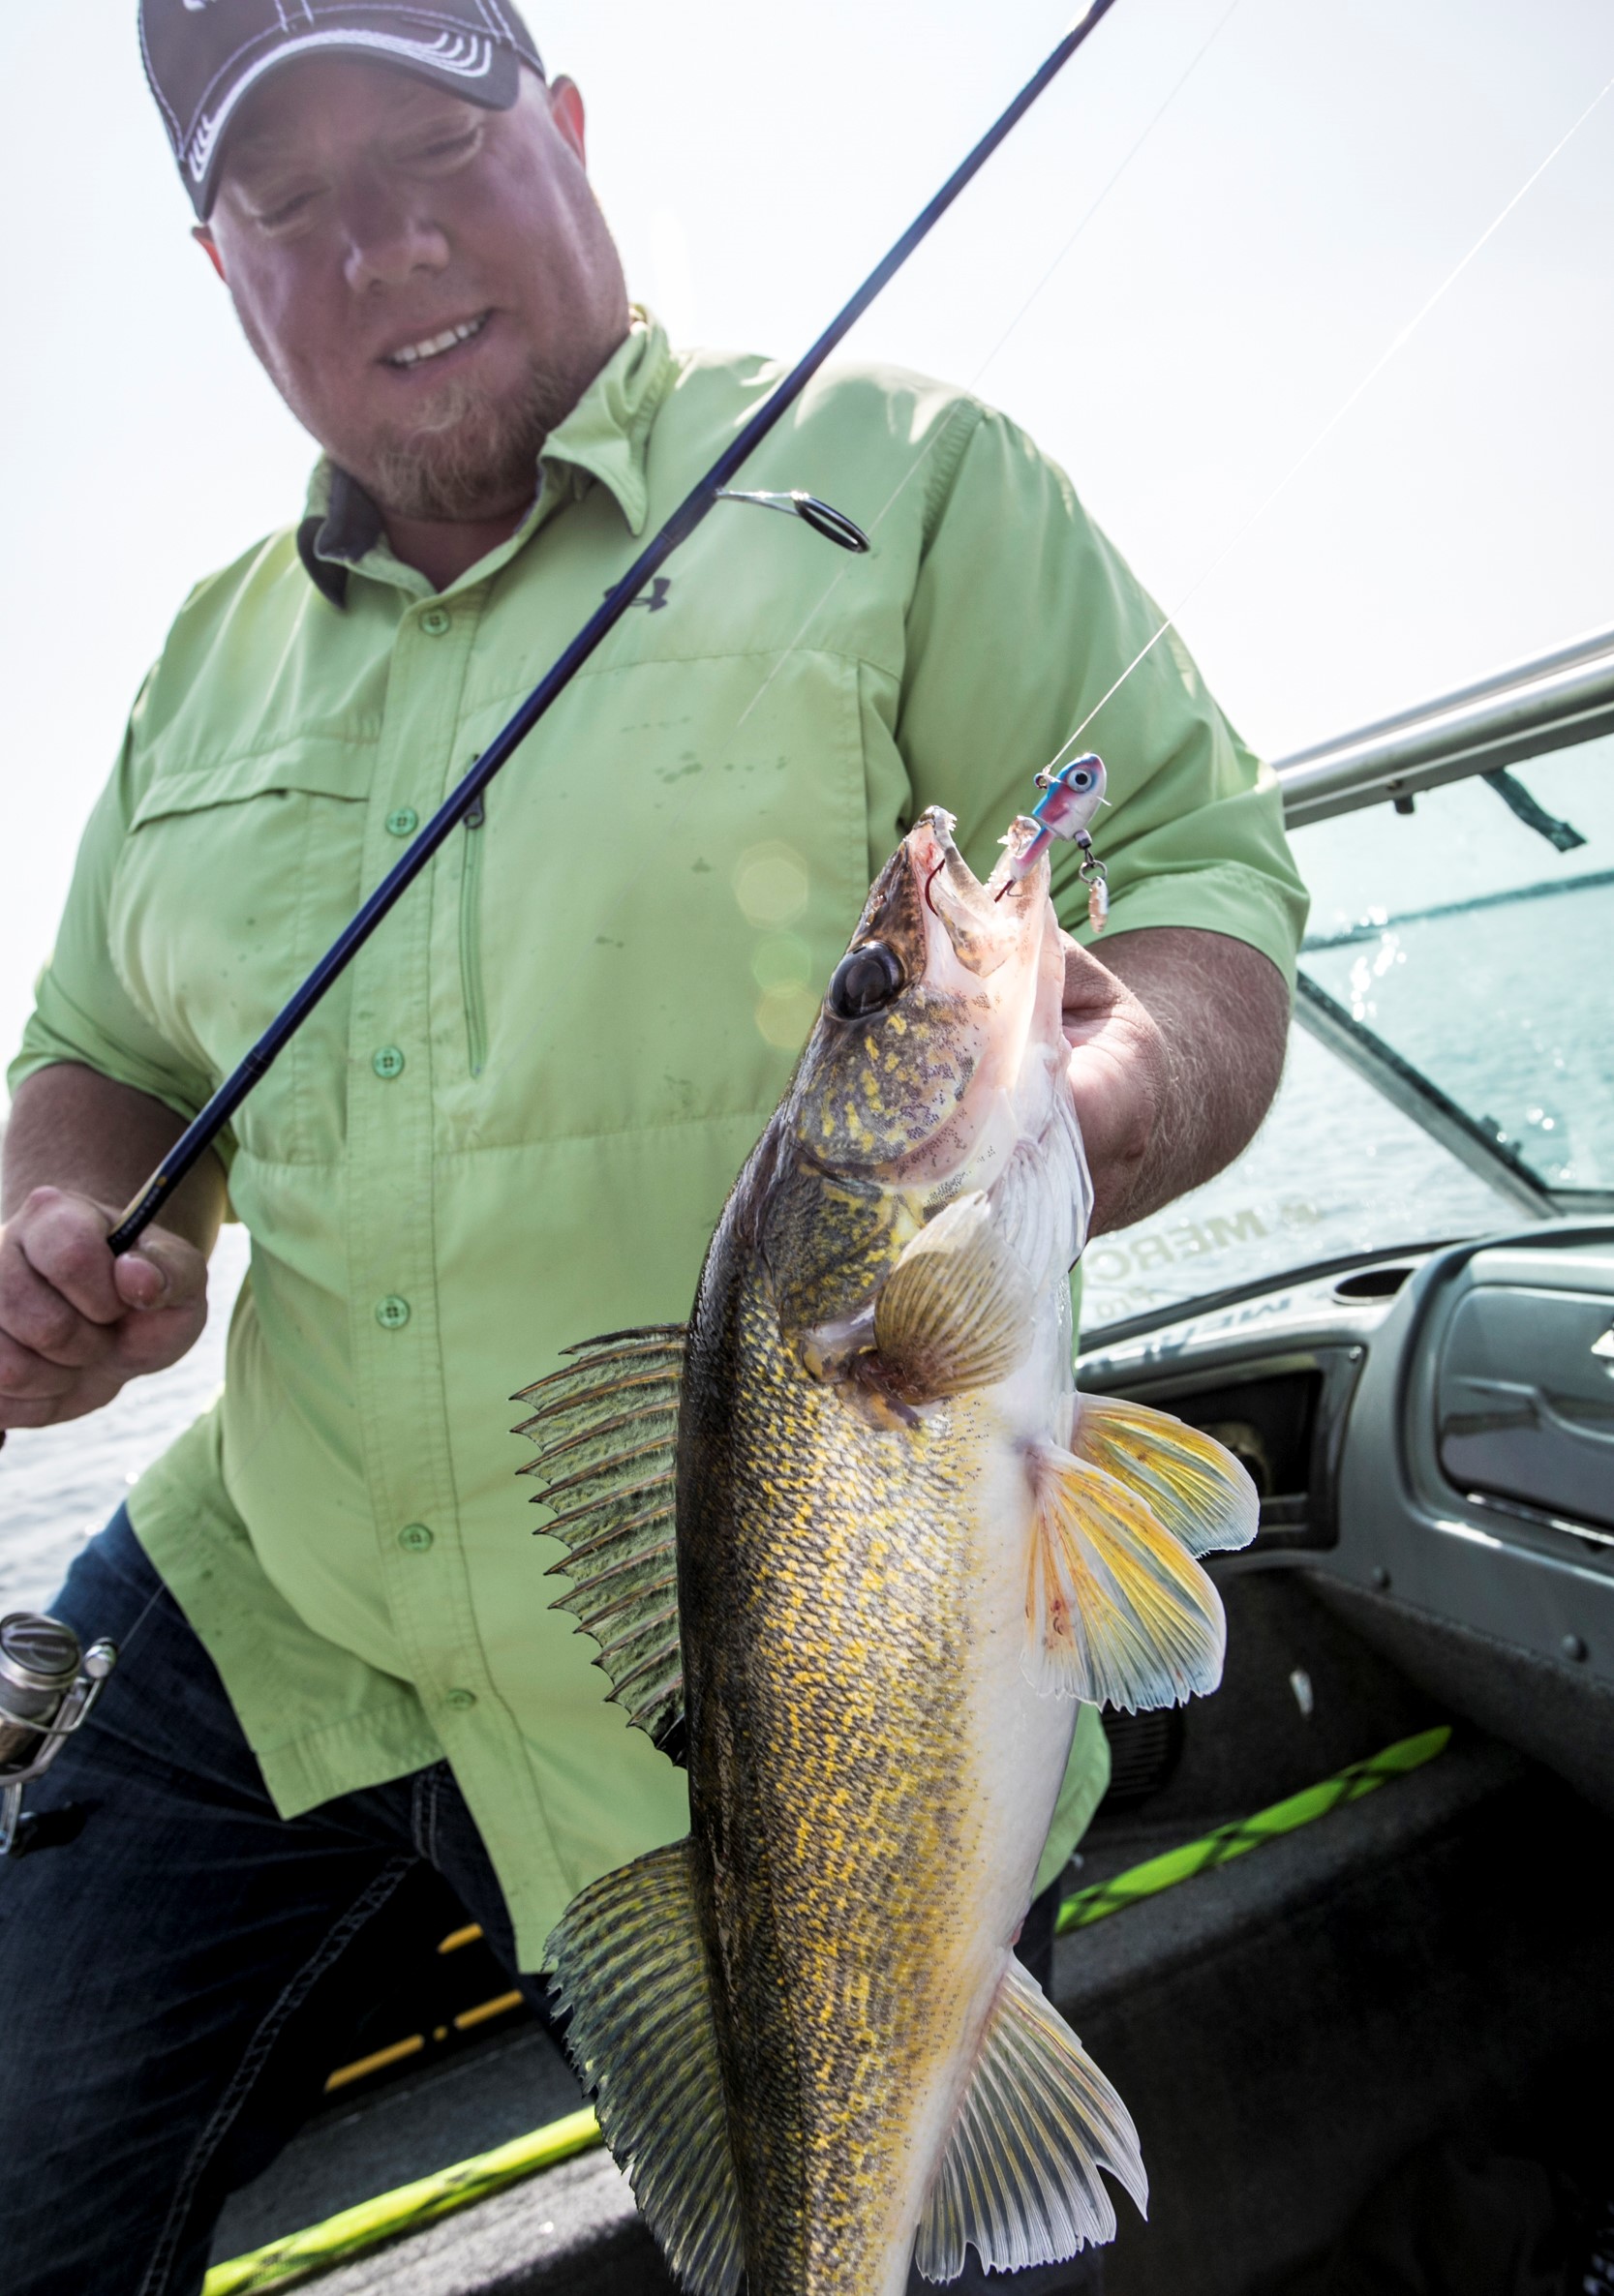
Few baits will ever be as successful as the plain lead-head jig.  As a bait-delivery method or a stand-alone option, it excels for multiple species throughout the country, moving water or stagnant, stained or clear.  It can be swam, hopped, plopped, dropped, dragged, shook, pitched, and fished vertically, among other presentations.  No matter how you choose to fish it, there’s a species that’ll eat it on every water body near you.  However, that doesn’t mean it’s necessarily easy to fish, and it can be downright challenging if you’ve never been much for jig-fishing. 

I learned to fish jigs on a river system in current, which is quite the curveball compared to natural lakes.  With moving water, you need to take into account more variables like sweep, casting angle, mono vs. braid, among others.  However, with a few pointers, anyone can catch fish with jigs.  Here’s a few to get you started in the right direction.

Use the Right Tools for the Job – Start with a lightweight, high-quality carbon-fiber (no fiberglass) rod in an Extra Fast (XF) action, along with a featherweight reel combination.  Jig-fishing, perhaps more than any other technique relies heavily on feel, and you simply can’t feel much with poor equipment.  While there are techniques that don’t require you to spend as much on a rod and reel, here’s one instance where you really get what you pay for, and better tech quite simply leads to more fish. 

Line – Start with braid and a fluorocarbon leader of a few feet in length, joined by an Albright Special or Uni-to-Uni knot.  This offers you the best ability to feel the jig, while still having some stealth with the nearly translucent fluorocarbon line up against the jig itself.  Mono can excel in certain situations, especially in current where the sweep and way it cuts through the water presents the jig differently, but braid offers you the best feel overall.

Map the Bottom – Your first couple of casts should be an exploratory mission, as you decipher clues that are telegraphed back to your rod-hand.  Cast out and let the jig settle to bottom.  Then slowly drag it back to you, hopping or with mixed-in quicker pulls along the way.  You’re actively figuring out substrate at distance, such that you can understand the big picture and where fish will be holding.  Like any experiment, start with a “control” retrieve, and compare various types of retrieves thereafter. 

No Cross-Wind Casting – No matter the orientation of shore or where you’re pitching, wind could be the single largest inhibitor to your catch-total for the day.  Position your back to the wind, or directly face it to enjoy far better direct contact with what your jig is doing.  Drift into a crosswind, and every fish in the lake could hit your bait on a single retrieve, and you’d never know it because of the huge bow in your line.  Wind triggers many fish species up shallow, so on these days, mitigate the effect by keeping your rod-tip close to the water and off to one side of the boat to reduce that problem.

Stay Back in Clear Water – Jig fishing can only be productive in the clear shallows when you’re not driving over fish.  In hyper-clear water bodies like Mille Lacs, this means fish spook in 10FOW or even more, meaning you have to stay over deep water and simply pitch a little bit further up to the zones you’d like to cover.

Fish From the Outside In – When fish are schooled up near cover, it pays to work your casts from the outside in.  As you pick off fish after fish from the outside, you have less chance of disturbing an entire school by casting up to the center of the most prime piece of cover.

When Vertical, Stay That Way – Vertical jigging works really well in deeper water, but only if you keep your rod tip directly over the top of the bait.  Poor boat control when fishing vertically leads to baits off bottom, and less ability to detect bites, especially when the bait is under the boat. 

Re-Bait – Whether plastics or live-bait, degraded or destroyed additions to a jig hinder the action and direct appeal.  Resist the temptation to leave it on for “one-more-cast” and put your best bait forward.  It’s amazing how selective fish can be at times, and at the end of the day you may only use a handful more minnows or plastic grubs.  Call that cheap insurance to a successful bite. 

Focus – Probably the single biggest deterrent to catching fish on a jig is distracted fishing.  If you prefer to doze off, drink coffee, or otherwise just relax, start trolling or bobber fishing.  The best jig anglers I know are machines.  They’re casting, processing bottom content, hooking walleyes, and positioning the boat for the next cast.  They’re mentally engaged nearly all of the time, as they pick apart pieces of structure bit-by-bit.  While it’s true that the more you pay attention for any fishing scenario, the more you’ll catch, with jig-fishing it’s absolutely critical.    

untitled-0148.jpg

What Jig to Fish & When

We are programmed to understand that not all lure types are created equal, with different baits serving different needs seasonally for varying species.  What about baits in the same class however?  While we grasp the thought that a jerkbait is not the same as a spinnerbait, we tend not to distinguish characteristics in-class, with jigs being no exception.  That said, there is a huge number of jig-styles, sizes, shapes, and colors, with all sorts of hardware and appendages molded-in or otherwise attached. 

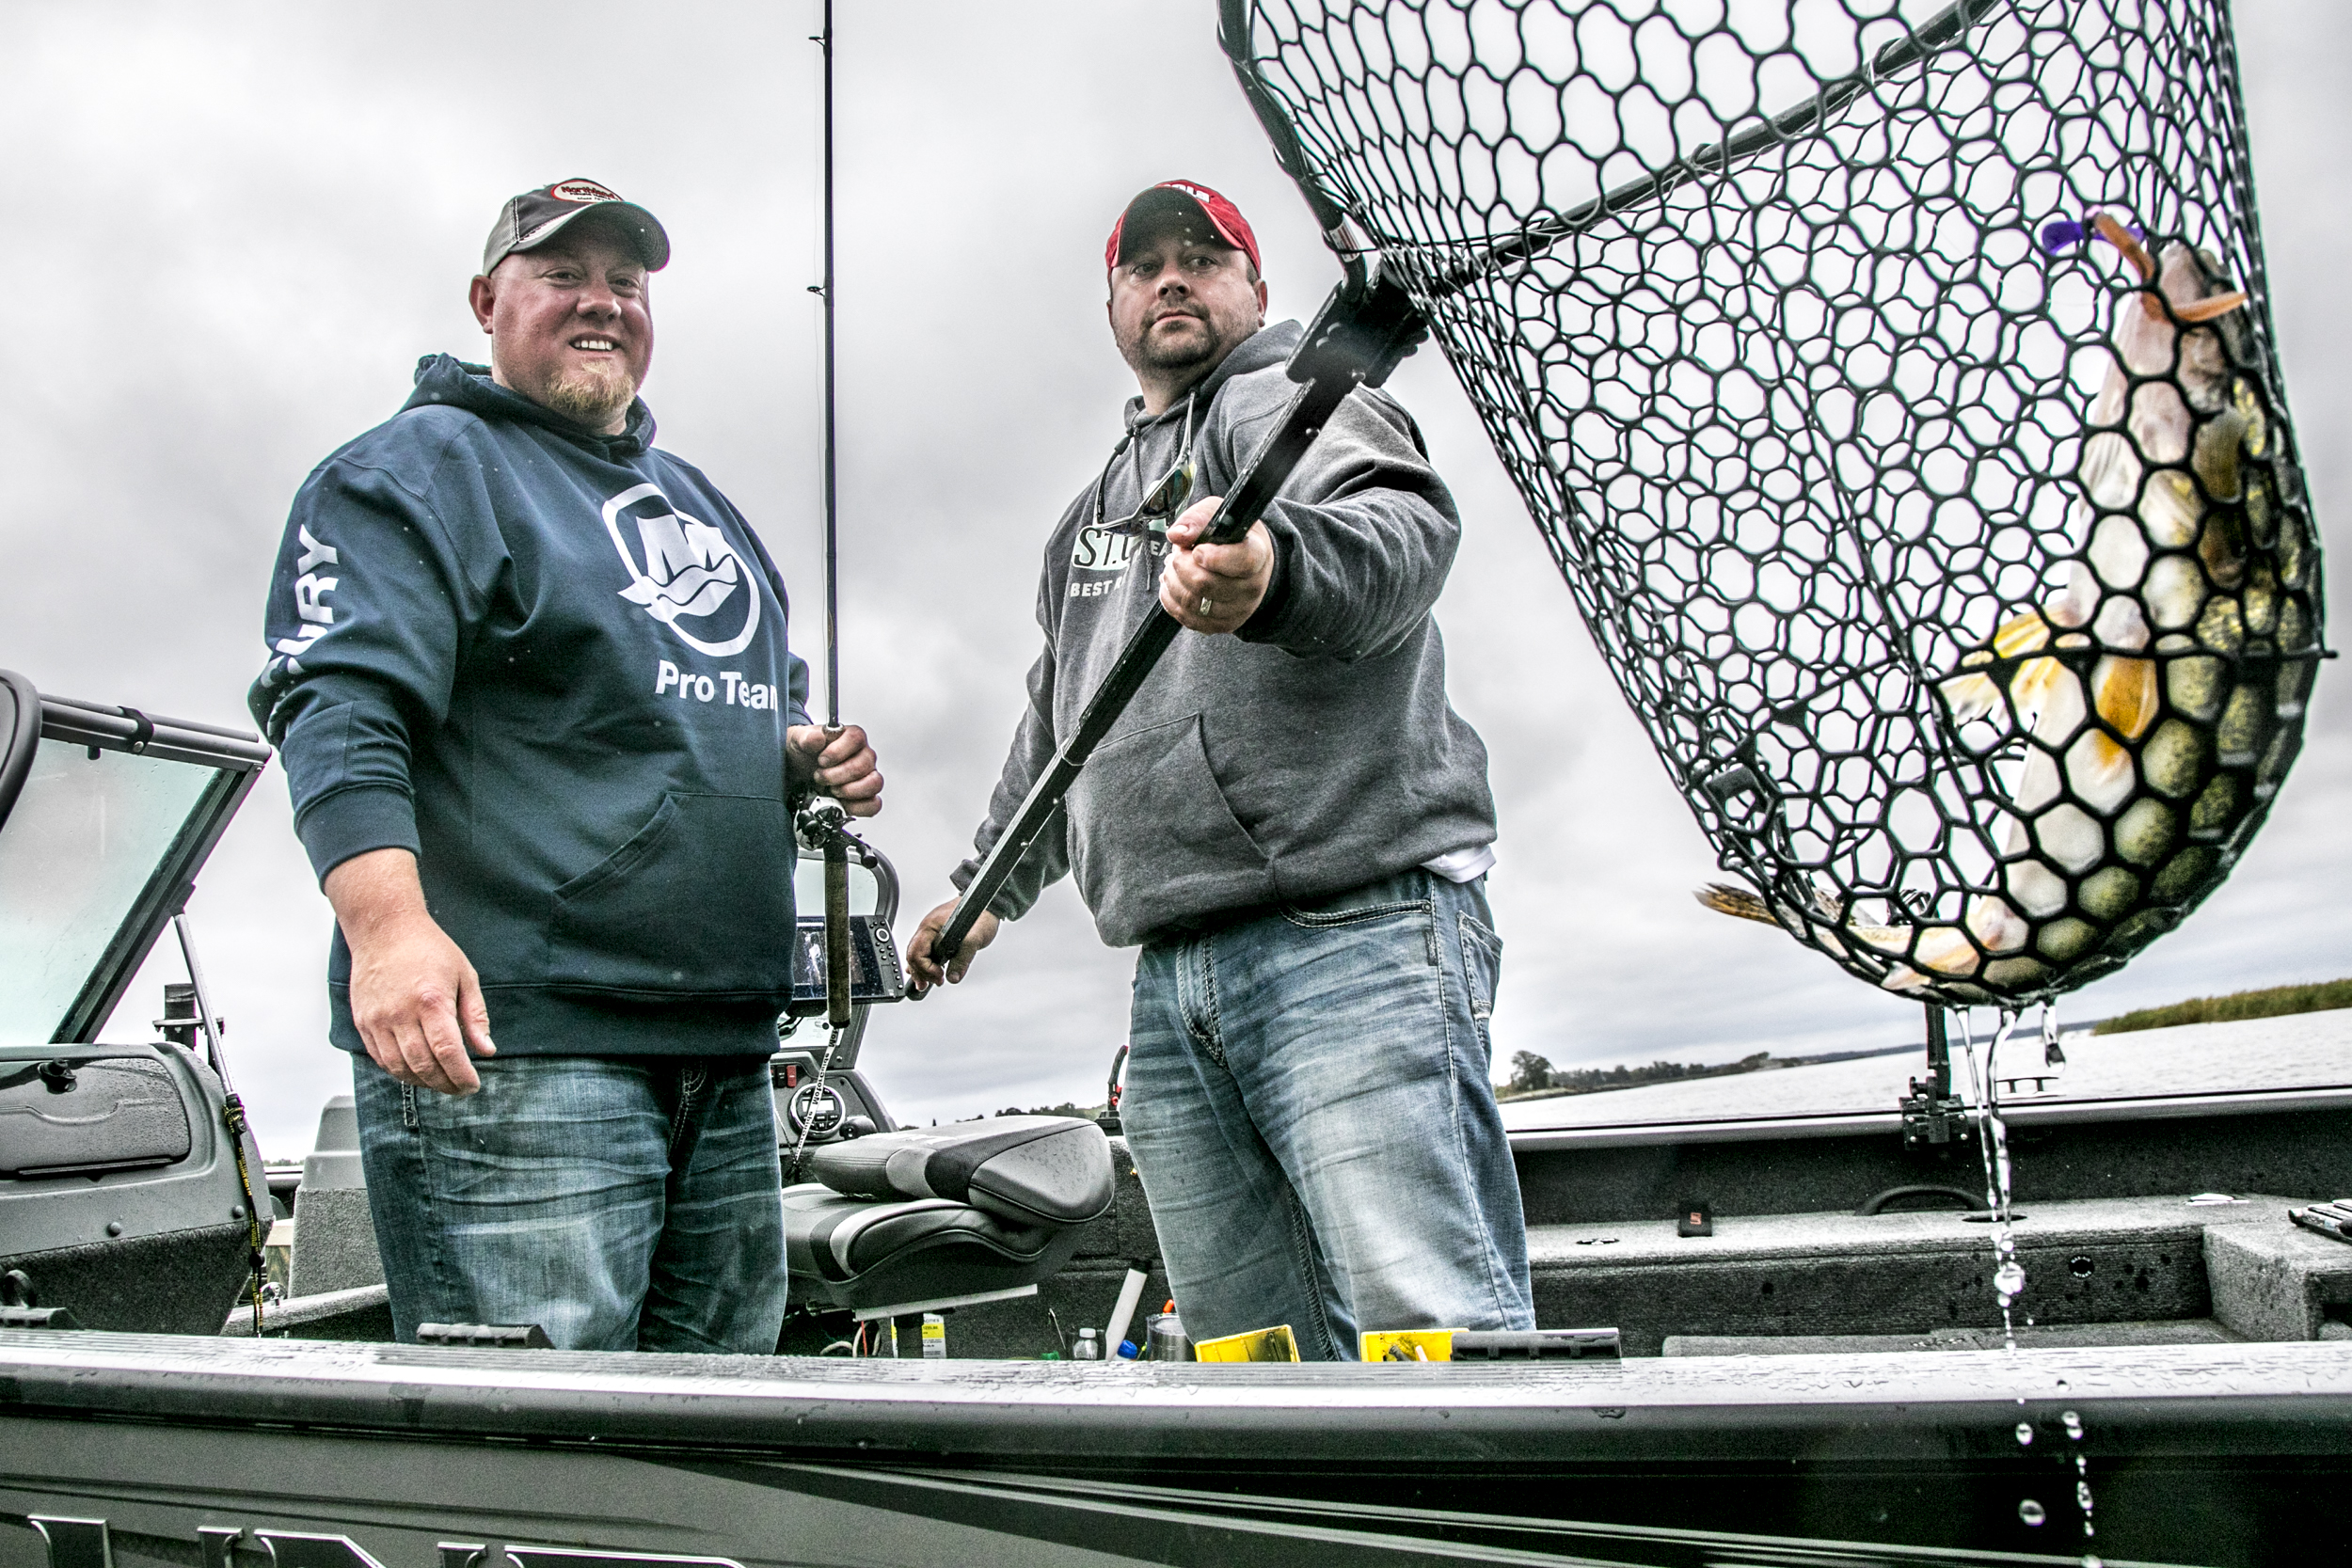
I have my favorites, but I thought I would call in the advice of successful Dakotas guide and Northland Tackle Pro-Team Coordinator Cody Roswick.  Cody knows his way around both North and South Dakota, often using jigs to guide his clients to quality fish no matter where the bite takes him, or what technique the day calls for.  Like with most guides and pro’s I have fished with, small details frequently reap huge dividends, so it pays to pair the right jig to the scenarios you fish.  Here is a quick run-down of some popular styles, and how to go about choosing which variety to use, and when.  

Jigs For Minnows – These two are an original pairing that have stood the test of time, and Cody fishes them primarily during the early season.  With designs like the Fire-Ball that offer a secondary-eye to attach stinger hooks being extremely successful.  Having the option to attach that extra treble for short-striking fish can really be handy, even if you start the day without.  For larger minnows like shiners, consider this option or other jig types with a long shank that places the business end of the hook further back on the minnow. 

Jigs For Crawlers/Leeches – For the most part, you have quite a few options here, especially with leeches as provided you hook them in the sucker or just underneath, you will not have to worry too much about the hook holding your bait.  With crawlers however, you will want a keeper at the base of the jig ball itself to retain the bait and prevent it from sliding down the hook shank un-naturally. 

Jigs For Plastics – As water temperatures warm, live-bait options for walleyes lose favor to plastic imitations, but you will want some different jig designs for fishing them.  Cody says, “Wire barbs for keepers will prevent everything from bluegills to bass pulling at the tail end of the plastic all the way down to the hook bend.”  Roswick continues, “Not only does this rip your plastics option of choice, it frequently causes the bait to run un-true.”  Premium models that do the best job of avoiding this issue will have dual-barbs or wire-keepers that truly lock the plastic to the base of the jighead. 

Stand Up Jigs – Use this type of jig style in river areas when trying to drag bottom, or lakes when again trying to trace as close to the substrate as possible.  Often, bottom contact can be a crucial part of the presentation, and that is when stand-ups are worth their weight.  “These jigs shine in helping fish suck that bait off of bottom, as the hook points up and back at a 45 degree angle in their face,” mentions Cody.

Jig/Spinner Combinations – This group encompasses a number of jigheads from thumper-style models with a swivel and blade beneath them, to a whistler-style jig with an in-line twin-rotating blade.  Both perform similar tasks in creating flash and vibration to attract fish from distance.  “This can be important in river systems or natural lakes with limited visibility,” says Cody.  “I use them a lot with live-bait when fishing vertically, especially deep river systems.”

Current Cutter – Pill-Shaped Jigheads – Speaking of rivers, current-cutter style jigheads have made some strides in recent years, as the pill-shaped and more elongated design simply offers less drag in current.  “That allows you to fish lighter, while still getting down to the fish,” says Roswick, a key component to many river situations where current can keep a jig higher in the water column than you want it.

Floating Jigs – Of course, one of the best ways to stay near bottom is to rely on another weighting system other than the jig to keep you pinned there.  That makes floating jig head options a mainstay in many anglers’ boxes.  Present livebait in any manner with confidence, knowing your bait will float just above the snags.  Add some current to the mix, and many designs like the Gumdrop or Phelps-Floater will jog side to side like a crankbait for added action.

Hair Jigs -  Whether animal hair like bucktail, marabou, or other synthetic materials, these skirted jigs are often tipped with bait and presented both vertically or casted.  You will need different weights to satisfy the various depths, but hair is a great way to add bulk, color, and life to an otherwise plain offering.  In lakes and rivers, hair jigs do not get as much press as they deserve.

Weedless Jigs – Designs like the Weed Weasel and others with plastic deflectors in front of the hook point are classic heavy cover options.  Roswick who fishes the trees of North Dakota’s Devil’s Lake says, “They’re a mainstay for me anywhere near weeds or timber, and they have a heavy hook if you need to horse them out of nasty cover.”  Tip them with your live bait of choice, and consider them anytime you are afraid to throw other jig styles into the thick stuff. 

Turkey Hunting's Tough Calls

New heavier-than-lead loads like TSS put more pellets in a 10" circle at 40 yards than any lead I've ever tested.  Knowing your effective range by patterning and pellet-counting helps settle one of the toughest calls as a turkey hunter you'll e…

New heavier-than-lead loads like TSS put more pellets in a 10" circle at 40 yards than any lead I've ever tested.  Knowing your effective range by patterning and pellet-counting helps settle one of the toughest calls as a turkey hunter you'll ever have to make.  

Photo Credit - Matt Addington Photography

In the course of even a single season, turkeys will challenge your skills and make the most confident hunter into a wuthering pile of loathing and self-doubt.  Each day presents new scenarios, culminating into a number of “tipping-points” that we inevitably look back on with the clarity of 20-20 hindsight.  Here’s a number of those very situations, along with some advice on how I’ve learned to best handle them throughout the years. 

To Call or Not to Call? – You’ve just made a string of yelps and everything in the woods is white hot with excitement.  It’s one of those rare days where you can simply do no wrong, and they’re picking up every call you’re putting down.  Then the other boot drops and silence abounds for 10 minutes or more.  Do you call again?  If no, then how long to wait?  Well my experience has been that sudden pauses in calling are either really good, or really bad.  Birds have heard what they needed and are on a straight-line march to your location, soon to appear at any time.  Or, they’ve been spooked by another hunter or coyote, they’ve flown down and left the audible area with hens, or any other act of tom-foolery.  Birds that are still gobbling occasionally give you clues and cues to go off, and there are no general facts for when and when not to call.  That said, the closest thing to any hard or fast rule that I have is not to call to any bird that is closing the distance to your location.  If he’s coming, don’t call and screw it up!   

Should I Stay or Should I Go? – So often we’re presented with the choice to give chase to birds that are leaving the vicinity, or hold off and wait.  To answer that question, I’ll first think to what other options I have should I pursue and spook.  If you only have 40 acres of access for the season, it’s best not to get too aggressive.  I’ll also think to what other birds I heard in the roost, doing my best to identify how many potential toms heard my calling.  I try my best to wait out any play for 30 minutes after last call if I really got agressive, especially if birds are responding from out deep.  There’s a few exceptions to that rule, but for the most part, I’ll get to the point of almost standing up, then give it another 5 minutes. 

Edge of Range – Just writing it makes my skin crawl.  I can’t begin to tell you the number of birds that have skirted the edge of my weapon’s effective range over the years.  I can very precisely tell you the handful of times I’ve been tempted to push the limits, and let’s just say that it works only occasionally.  You can’t tempt the limit till you define one, so your early season patterning is more than just a fun time at the range, it’s crucial to drawing that line in the sand.  If I can’t put 100 pellets consistently into a 10” circle, then that range draws a distinct line for me to shoot within.  If that distance is 50 yards, 51 yards is flirting with disaster accounting for wind, brush, sore arms, and any number of variables that don’t play out in the field like they do on a lead-sled.  These birds deserve more than “occasionally” so I use a rangefinder where legal, and able, to demarcate a zone that I simply won’t shoot past.

When to Shoot? – The bird has finally crossed into the death zone, and you’re just waiting patiently for the best possible  - can’t mess it up – shot to present itself.  Don’t wait too long, or really at all.  My best advice has always been to take your first, best shot as soon as the bird is in range.  Of course a bird in the wide open with his head down slowly walking your way poses little threat of escape.  Add cover, other birds, partial views, and a tom that’s already nervous, and you’ll find how remarkably possible it is for a tom to sashay into range and out of it before you ever get to pull the trigger.  That’s why I’ve killed so many birds between 35-45 yards.  It’s not because I like pushing the limits of my equipment, but it’s because far too many toms have wandered into “sure thing” setups, only to find a wide tree, hen, or blocking fence-line to walk straight away and in line from, thus preventing any shot.  Fall back on your patterning, and take the very first, best-looking shot you’ve got while the bird is in range.

Brush Birds – See above, then take your best shot even if it involves a few twigs.  With a caveat.  Know that I’d never promote someone taking an unsafe shot (not being sure of target or what’s behind it) or a shot that would potentially maim a turkey (too much brush), but a swarm of pellets especially well inside of your effective range does wonders for peeling back a few sprigs of spring.  On the other hand, if you’re looking at a bird in the brush for which you cannot identify the beard or exact location of his head/neck area, then it’s far too thick to try.  My rule of thumb is to clearly identify the outline of the head and neck area and make sure you can see beard, then squeeze off a quality shot.  If you’re shooting at the outline of a turkey itself or at the edge of your effective range, you don’t have a prayer.