The Keys to Successful Jig Fishing

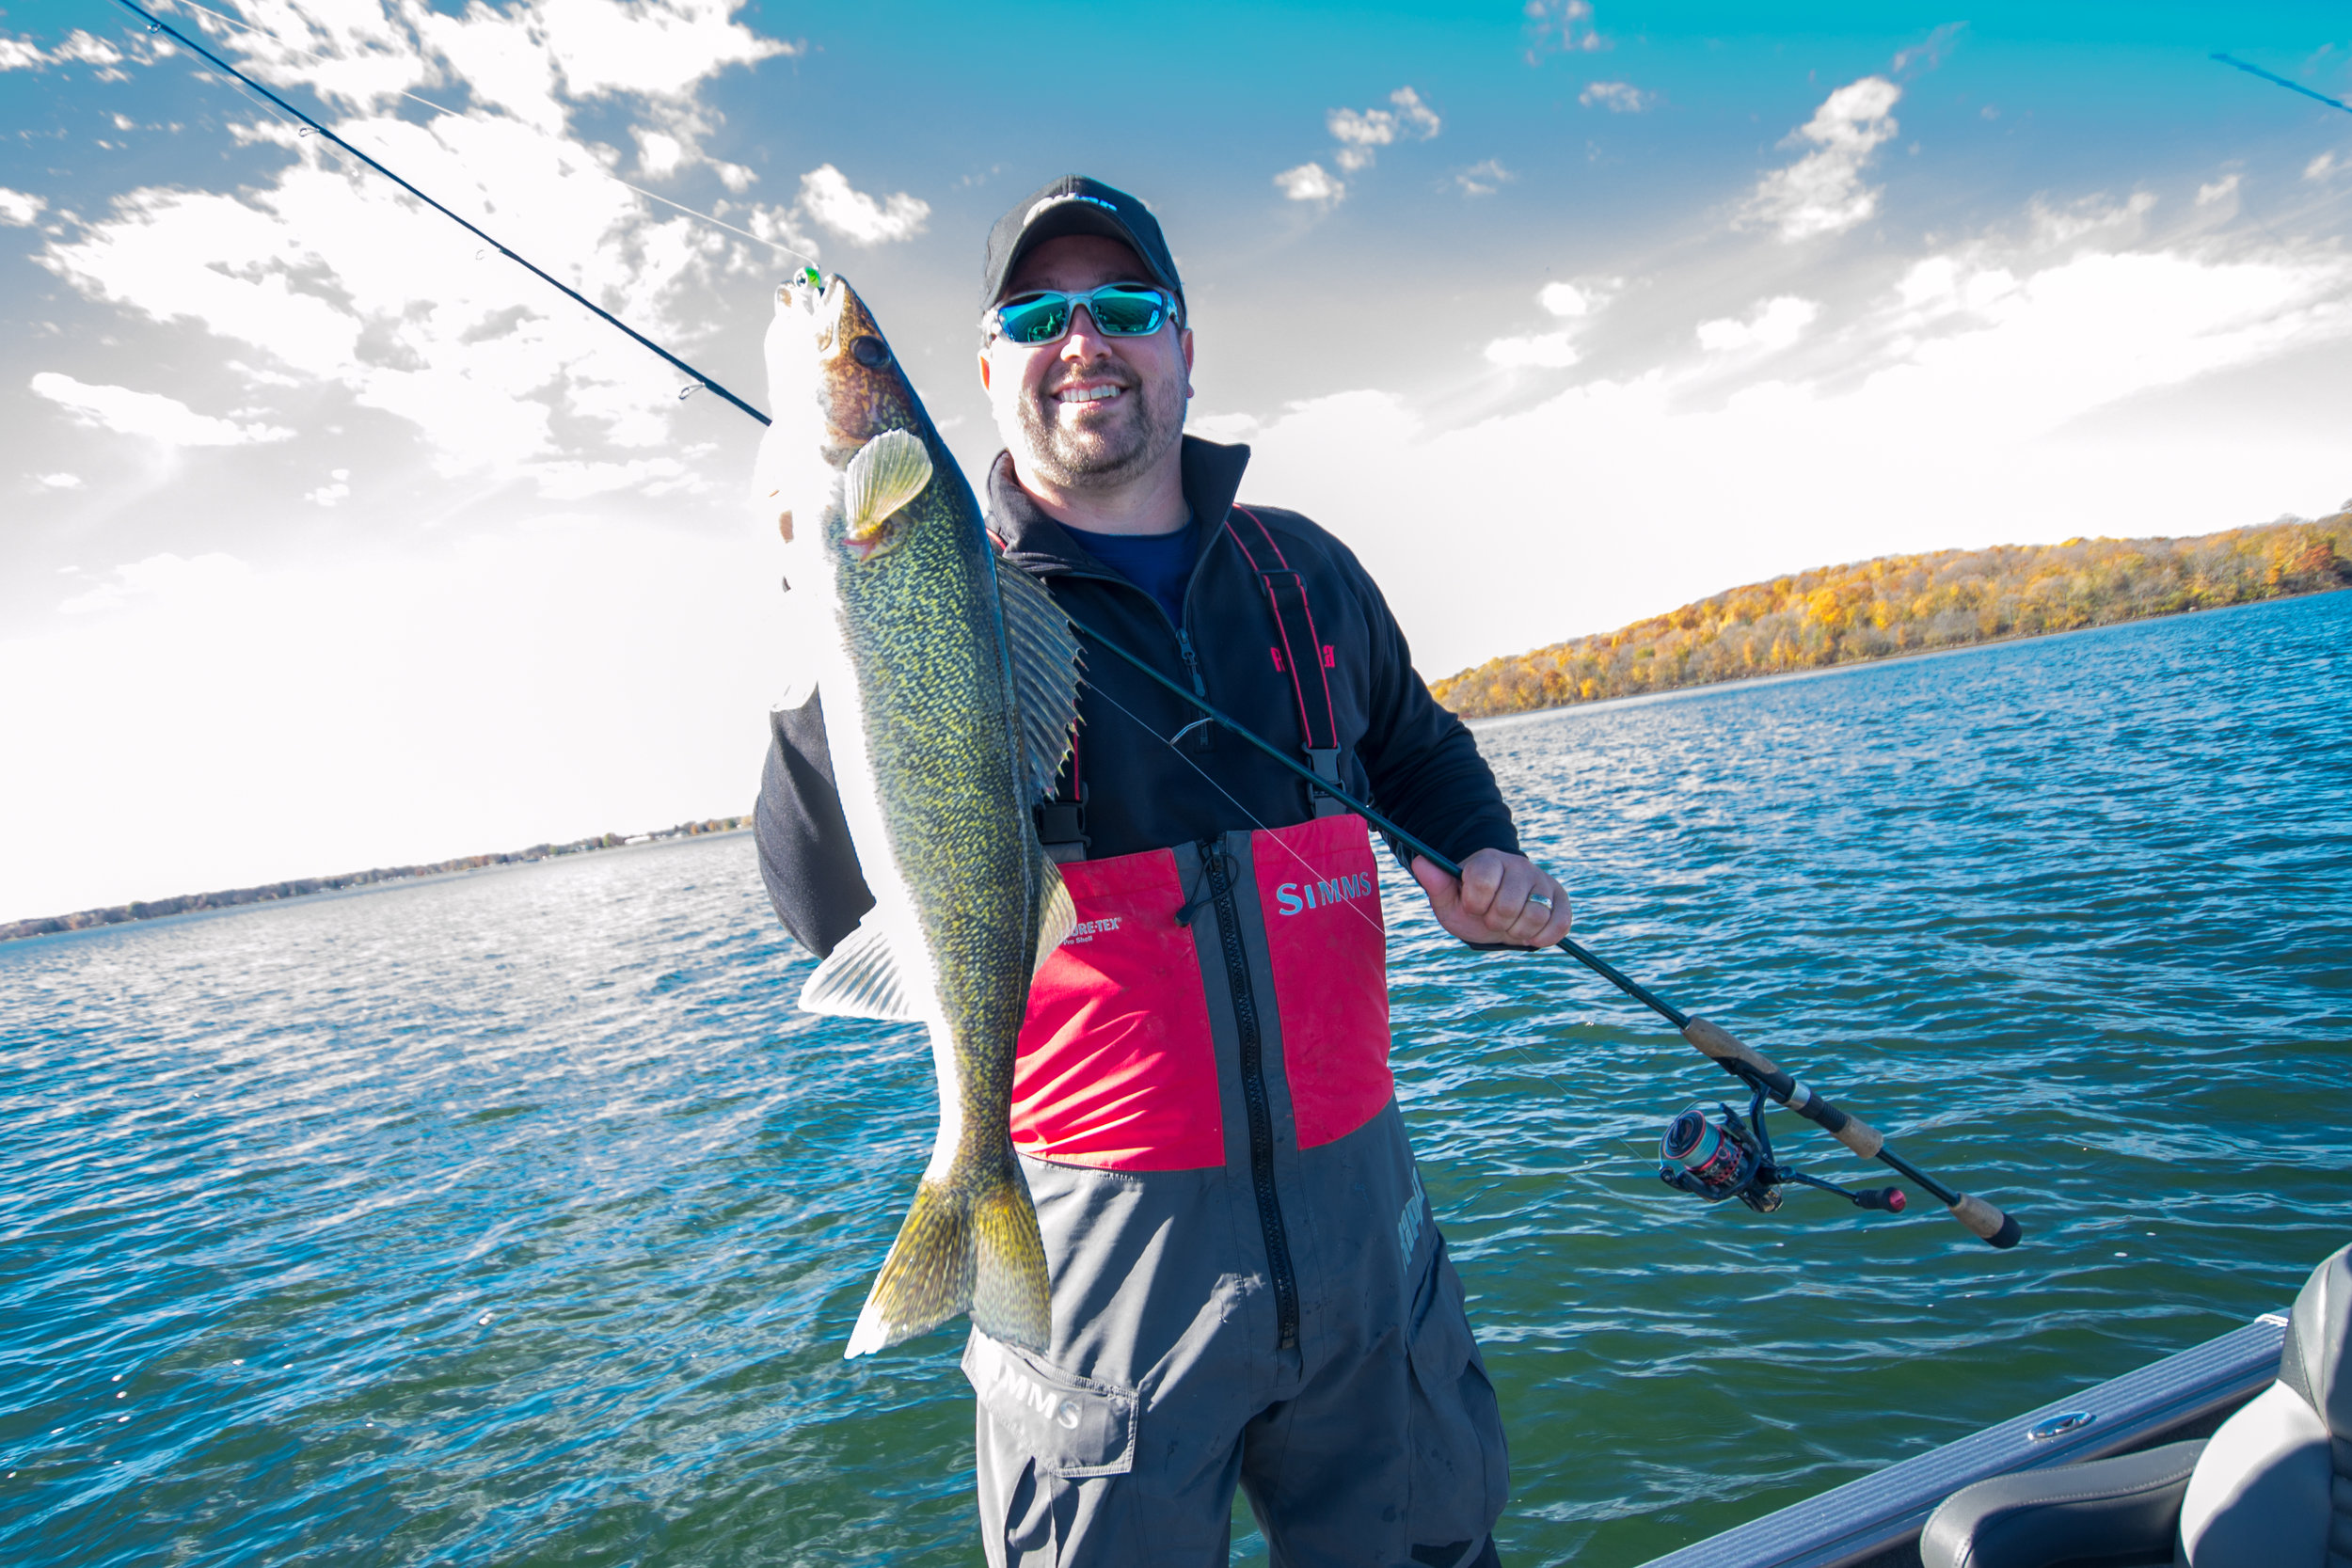
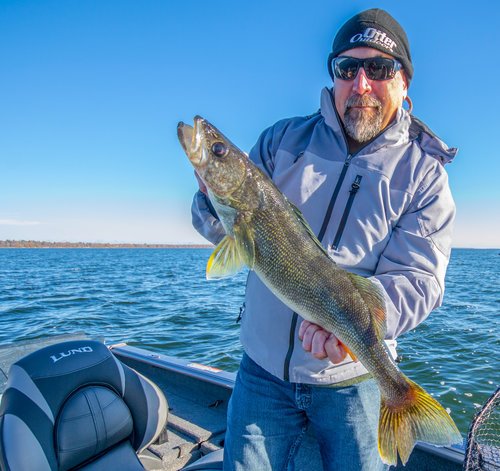
Few baits will ever be as successful as the plain lead-head jig.  As a bait-delivery method or a stand-alone option, it excels for multiple species throughout the country, moving water or stagnant, stained or clear.  It can be swam, hopped, plopped, dropped, dragged, shook, pitched, and fished vertically, among other presentations.  No matter how you choose to fish it, there’s a species that’ll eat it on every water body near you.  However, that doesn’t mean it’s necessarily easy to fish, and it can be downright challenging if you’ve never been much for jig-fishing. 

I learned to fish jigs on a river system in current, which is quite the curveball compared to natural lakes.  With moving water, you need to take into account more variables like sweep, casting angle, mono vs. braid, among others.  However, with a few pointers, anyone can catch fish with jigs.  Here’s a few to get you started in the right direction.

Use the Right Tools for the Job – Start with a lightweight, high-quality carbon-fiber (no fiberglass) rod in an Extra Fast (XF) action, along with a featherweight reel combination.  Jig-fishing, perhaps more than any other technique relies heavily on feel, and you simply can’t feel much with poor equipment.  While there are techniques that don’t require you to spend as much on a rod and reel, here’s one instance where you really get what you pay for, and better tech quite simply leads to more fish. 

Line – Start with braid and a fluorocarbon leader of a few feet in length, joined by an Albright Special or Uni-to-Uni knot.  This offers you the best ability to feel the jig, while still having some stealth with the nearly translucent fluorocarbon line up against the jig itself.  Mono can excel in certain situations, especially in current where the sweep and way it cuts through the water presents the jig differently, but braid offers you the best feel overall.

Map the Bottom – Your first couple of casts should be an exploratory mission, as you decipher clues that are telegraphed back to your rod-hand.  Cast out and let the jig settle to bottom.  Then slowly drag it back to you, hopping or with mixed-in quicker pulls along the way.  You’re actively figuring out substrate at distance, such that you can understand the big picture and where fish will be holding.  Like any experiment, start with a “control” retrieve, and compare various types of retrieves thereafter. 

No Cross-Wind Casting – No matter the orientation of shore or where you’re pitching, wind could be the single largest inhibitor to your catch-total for the day.  Position your back to the wind, or directly face it to enjoy far better direct contact with what your jig is doing.  Drift into a crosswind, and every fish in the lake could hit your bait on a single retrieve, and you’d never know it because of the huge bow in your line.  Wind triggers many fish species up shallow, so on these days, mitigate the effect by keeping your rod-tip close to the water and off to one side of the boat to reduce that problem.

Stay Back in Clear Water – Jig fishing can only be productive in the clear shallows when you’re not driving over fish.  In hyper-clear water bodies like Mille Lacs, this means fish spook in 10FOW or even more, meaning you have to stay over deep water and simply pitch a little bit further up to the zones you’d like to cover.

Fish From the Outside In – When fish are schooled up near cover, it pays to work your casts from the outside in.  As you pick off fish after fish from the outside, you have less chance of disturbing an entire school by casting up to the center of the most prime piece of cover.

When Vertical, Stay That Way – Vertical jigging works really well in deeper water, but only if you keep your rod tip directly over the top of the bait.  Poor boat control when fishing vertically leads to baits off bottom, and less ability to detect bites, especially when the bait is under the boat. 

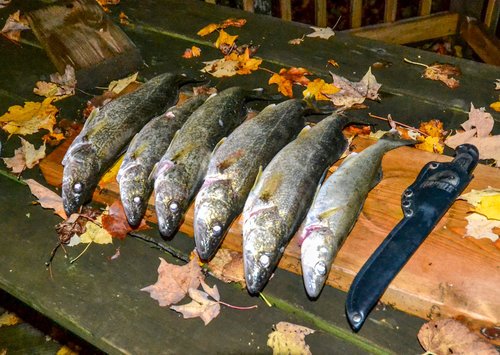
Re-Bait – Whether plastics or live-bait, degraded or destroyed additions to a jig hinder the action and direct appeal.  Resist the temptation to leave it on for “one-more-cast” and put your best bait forward.  It’s amazing how selective fish can be at times, and at the end of the day you may only use a handful more minnows or plastic grubs.  Call that cheap insurance to a successful bite. 

Focus – Probably the single biggest deterrent to catching fish on a jig is distracted fishing.  If you prefer to doze off, drink coffee, or otherwise just relax, start trolling or bobber fishing.  The best jig anglers I know are machines.  They’re casting, processing bottom content, hooking walleyes, and positioning the boat for the next cast.  They’re mentally engaged nearly all of the time, as they pick apart pieces of structure bit-by-bit.  While it’s true that the more you pay attention for any fishing scenario, the more you’ll catch, with jig-fishing it’s absolutely critical.    

untitled-0148.jpg

The Best Anglers Find Their Ice Spots Right Now

Ice-fishing has undergone an interesting transformation in the past few years especially.  As social media ice-thickness reports hit the internet by the hour, we get on ice collectively faster than we once did.  A legion of mobile ice-anglers get out in their portables sooner than ever, scouring at first the shallows then pushing deep as ice permits.  Yet there is a growing group of wheelhouse anglers that fish in comfort weeks and months later, waiting until the ice becomes thick enough to support both truck and drop-down trailer.  No matter which group you’re in, eventually you’ll hit the lake in search of fish, and just like in school it pays to do your homework.

As ice-anglers, our mobility though better than it’s ever been, is drastically limited by the reality and need to drill a hole in ice to gather information.  So why not put in the work when it’s easy?  Using electronics from a boat to find fish, and more importantly find areas that will gather fish, is far easier on a 60 degree fall day than a 10 degree winter one.  Yet it’s surprising to see so few anglers take advantage of the easy ice-scouting that presents itself in our fall months.  In all honesty, I never stop thinking about ice, and no matter when I’m fishing during the open water months, my mind is racing to determine locations that look “fishy” from an ice-angling perspective. 

Many times, these locations are consistent producers during all months, yet others are specifically good for ice and not during the bulk of the open-water period.  The latter types include shallow transitions from mud to sand, or sand to rock, as well as small gravel or rock patches marooned again in shallow weeds or non-like surrounding substrates.  Early ice fish push to these places, especially after sundown in clear-water systems.  Spots that are no larger than a kitchen table can seem impossible to drill out and find, while they stick out like a sore thumb on a side-scan of any random shoreline. 

Side-scan technology could be the number one asset to an ice-angler during this time of year, as few things hide from it, even in heavy weed cover or timber.  Even if you don’t own this technology, chances are you know someone who does and you could get out for a day on the boat with them.  Spend time getting to know the system in either case, and make sure to idle at the proper pace to provide the very best image you can.  In general, harder bottom areas show up brighter or “whiter” and soft bottom shows up darker, and aside from timber, fish-cribs, or other sunken gems, you’re looking for any break or transition in the substrate.  The more sudden that change is, often the more valuable it can be. 

For the early ice angler, think first about how you access the water-bodies you like to fish.  Chances are, even if you’re walking out on slick-ice that sleds and gear slide neatly over, your spots will be within a ½ mile of your access point.  So focus on the areas immediately adjacent to shore that are within a half-mile ice shuffle.  Shallow water usually provides the first opportunities to fish on safe ice, so don’t worry about anything more than 15 feet at first.    

That’s a great starting point, but realize that eventually you may head out with an ATV, snowmobile, or other ice vehicle.  As ice-thickness progresses, so too does the season and fishing locations.  The first-break off of shore is now another focus area and reason for a completely separate scan.  Stay within 100 feet or so of that break and complete another pass or two until you feel you both understand the variation in that break, and identify key points along it that may concentrate fish activity. 

If you know you won’t be pulling your house onto the lake until vehicle traffic is safe, you’re looking at mid-winter fish locations.  Off shore reefs, rock piles, or islands can be key locations to drop a wheelhouse, and are typically well-marked with many of the contour mapping options we have today.  That said, the devil’s in the details, and small changes in that structure are readily visible again with side-scan technology. 

The mistake many ice-anglers make at this point is marking the spot “generally.”  Just because you can find the underwater point, or even the spot on the rock-pile where boulders are largest, doesn’t mean you’re located on a part of the structure that gives you the best chance for success.  From experience, I can say that this kind of knowledge comes only from scanning it from a boat via multiple angles, dropping waypoints in various locations to pinpoint what you feel is the best location, then following that up on ice with underwater camera work to ensure you’re dropping down on fish. 

If all of this sounds quite involved for a few fish, I would agree.  That said, if you’re the kind of angler that always wonders what they’re biting like “over-there,” you can put much of that uneasiness to rest with a thorough accounting of what you’re looking at well before you drill the first hole of the season.  That type of inventory is without a doubt, best done without ice on the lake.       

Fall Walleye Transitions

untitled-0138-2.jpg

The word “transitions” may be one of the more overused terms in fishing today.  We hear about mud-to-sand or sand-to-rock transitions, seasonal transitions, and bait transitions; to the point where the word tends to lose its meaning.  Yet, it’s highly appropriate when discussing fall walleyes, as there are few times of year where everything can change as quickly as it can in the fall.  Which is why you’ll need to be flexible in your approach if you’re going to catch fish during this stage of the game.

“Transitions” to fall walleyes means fish that are behaving differently in terms of their location.  Warm spells and resultant increased water temps push fish back to more summer areas, often deeper than 20 feet of water.  Cold bouts, and especially prolonged cooler temperatures have the opposite effect they do in the summer.  Walleyes push shallower, feed more aggressively, and should be welcomed by anglers, even if they need some bulkier clothes and more cold-weather stamina to handle it.  Nothing kills a great fall bite like an “Indian Summer” that hits as water temps are slowly but surely otherwise dropping nicely.

If walleye locations change, it should be no surprise that the techniques to catch them should transition as well.  After water temps are in the 50’s to stay, you can put away the leadcore gear you used all summer to target scattered deep fish, and look for fish to congregate.  For the most part, cool weather concentrates fish, and often does it shallow where walleyes like to feed heavily.  This is especially true with prolonged wind events that stack fish in shallow, predictable locations.  Cool, windy days in the fall can see the biggest fish in any water body actively feeding during daylight conditions. 

That’s all well and good, but rarely in the fall is any one water body locked into a specific depth and individual pattern that works well for walleyes most of the time.  In reality, fish move at back and forth, with these depth migrations being gradual over time, with all kinds of smaller movements throughout the days and weeks of fall.  They relate to water temperatures, light conditions, and major weather events.  All of which sums up the truest sense of the term “fall transition,” meaning that walleyes in the fall are ALWAYS in flux.

Knowing that, then we have the challenge of determining details in targeting them.  First and foremost, start shallow, and start aggressive.  Crankbaits, both lipless and short-bodied shad diving baits, along with swimbaits, jig and plastic combinations, and even stickbaits are great choices for this type of fishing.  Fish wind-driven points, rock piles, and ledges in as shallow as a few feet of water, and give it a good hour or more of your time.  Make the fish prove to you that they’re not shallow before abandoning that bite, as when it’s on, it’s on in a big way. 

Next, move to the first break, and let your electronics be your guide.  Often, especially in clear bodies of water, fall transition fish will move below the edge of the first pronounced drop-off from shore during the day, still feeding occasionally, while waiting to push to nearby shallows for a night-time feeding session.  These fish may require a bit more attention and subtlety, and large, live minnows are a great presentation for them.  Free-swim a big chub behind ample weight on a larger than average rigging hook, and wait for the thump-thump of the minnow to be interrupted by a “smash.”  Pay the fish ample line and give it some time to get the bait in his mouth before setting the hook, and you’ll be surprised how well fall walleyes are into big minnows.  With some patience, many minnows lost, and some practice, you’ll also be wondering how even eater-sized walleyes can eat these extremely large minnows. 

If live-bait isn’t your game, it’s a great time to try Jigging Raps on these intermediate-depth fish.  You’ve got the combination of concentrated, aggressive fish, along with a bit of distance between you and the fish, such that Jigging Raps really have the space to dive, dart, swing, and work their magic.  I know more than a few anglers that fish this bite from 60 degree water temps all the way until lake ice-up. 

Finally, if fall walleye locations are confounding you, and you haven’t found anything at shallow or intermediary depths, consider going back to what worked in the summer.  This could be live bait rigging deep structure, or even pulling leadcore.  A few years ago, I did really well pulling leadcore, at night, in 25 feet of water in October.   The fish shouldn’t have been there, especially then, but they were and they ate.  It could be due to warmer than average weather preceding your visit to the lake, exceptionally clear water, or a number of other factors including turnover, but know that you’ve always got the patterns from the previous weeks to fall back on. 

Stay mobile, be flexible with your baits, and fish the fall walleye transition in order from shallow to the depths.  Let the fish decide what they want and where they want it, then realize that each fall day can act like a new season altogether as you repeat the process with success.

Full Circle Fall Jig Fishing

DSC_0009-2.jpg

It seemed like only yesterday when we buried the jig box for more “summery” walleye presentations.  The lead heads and sharp hooks we favored around the walleye-opener have given way to live bait rigs, cranks, and spinners with bottom bouncers.  Some of us, especially the river-anglers, never put away our jig offerings, but for the most part we’ve moved-on.  As fall water temperatures and fish locations begin to mirror spring, the jig bite comes full circle, once again being a productive strategy as it was in the spring.  This time however, there’s fewer anglers on the water you’ll have to share the bounty with.

Veteran guide Tony Roach needs little introduction, and it’s likely no surprise that he wields a jig like you and I use the air to breathe.  On an October trip with him a few years ago, we pitched jigs exclusively, and threw them in many places you might not expect.  “I start in 6 foot of water and shallower,” says Roach.  “I see plenty of guys focus on 8-12 foot rocks and sand, but in the fall you can find big concentrations of fish up shallow.  When they’re up tight, they bite, it’s as simple as that.”  Bite they did, with us finding pods of fish scattered in shallow rock situations that “felt” too shallow.  Arguing with the fish and where they “should” be is futile as I’ve come to find, so we stayed in shallow clear water, made long casts, and continued to catch fish.

We didn’t hesitate to slip out to deeper spots for other fish at the same time.  Again, fish where the fish are, and understand that not all fish in any one system respond to the environmental indicators of wind, water temperature, and bait equally and simultaneously.  Fall can be confusing that way, with all the dynamic changes that are occurring, fish location can be scattered.  Walleyes coming out of their summer patterns can still be quite deep during this period, with other fish transitioning shallower hour by hour.  The point to understand however is that no matter how many fish may still be at depth, those fish up shallow, when found, are likely biters.

Among all of the signaling factors that can push fish shallow, water temperature is the most consistent bellwether.  “I’m looking for surface temps in the 55 degree range to really trigger the begging of the strong fall pattern,” says Roach.  “I fish aggressive early, power fishing the reefs and rock ledges, and then as surface temps hit the 45-50 degree range, I’m dragging the bait with a few slow pops mixed in,” offers Tony. 

Just as spring live-bait situations eventually give way to more aggressive plastics presentations, the same happens in the fall but in reverse.  Tony says, “I’m starting with plastics earlier, to pair with the faster fishing I do.”  Surely, the action and colors available aid in this aggressive fishing approach, making the bait more appealing from a distance.  The combination of shallow fish, and a strong jig and plastics bite can make for some of the fastest fishing of the year, allowing anglers to cover water while fishing quickly and getting bit along the way.  Big grub imitations, or longer ring-worm baits work favorably, with minnow-style baits working well later in the fall. 

As fall progresses and water temps slow a fish’s metabolism, it should come as no surprise that live bait offerings become the order of the day once more.  The same jig and shiner combination that was so deadly this spring, is once again the best selection for getting shallow fish to commit.  Fishing these live-bait offerings slowly is once again the key, with some fish preferring the bait almost motionless.  Less is more during some of cold, late-fall excursions, as the liveliness of the minnow is what often ends up sealing the deal for the few walleye anglers that have chosen the boat instead of a tree-stand.        

That’s not to say that fish are always inactive and prefer a crawling presentation that time of year.  “A warm afternoon sun and flat conditions can actually bring up the water temperatures a good deal,” says Roach.  Experiment with plastic offerings in these situations as fish become more aggressive.  Don’t be afraid to move more quickly from spot to spot, while fishing more quickly.  Let the fish be your guide and choose accordingly. 

If water temperature is the primary driver of this migration of fish locations, wind is surely a close second, often taking a good situation and making it even better.  Many of the best trips I’ve ever had are when water temps hit the low 50’s, and a 15mph-plus wind stacks bait on shoreline rocks and sand.  Tony agrees.  “There’s lots of times when I’m throwing baits in those situations right up against rocks and reed-edges, and the bite happens almost instantly,” says Roach.  Fish fast in these situations, as you’re playing with a deck stacked in your favor.  Fish won’t be everywhere, but key shoreline points with any structure whatsoever will hold actively feeding fish.  All you need to do is put a jig in front of them.

What once became old, becomes new again, as spring gives way to summer and finally fall again.  Dig out the jigs, and fish them with plastics or meat depending on the temps you’re seeing.  Just remember to start shallow and fear not the water less than 6 feet.  You might be surprised to find yourself at the end of the season, in the very same locations that you started it.       

Permanent DIY Fish-House Do's and Don'ts

Permanent DIY Fish-house Do’s and Don’ts

It’s the time of year when ice heads across northern climates start thinking of their winter plans.  Maybe it’s the onward march of the calendar towards fall, or maybe it’s just that ice can be a comforting thought when the mercury is stuck in the 80’s and 90’s.  Whatever the reason, people now are building their own permanent shelters, or remodeling old ones, including myself.  A buddy and I are converting an enclosed single axle trailer into a makeshift summer and winter threat that will both haul over tar, and sit on top of ice.  This article then is aimed at the do-it-yourself (DIY) crowd, such that hopefully you can take our mistakes and learn from them!

Do’s

The adage “measure twice, cut once” applies here in many senses; perhaps from a construction perspective, but also from a general ice-fishing planning one as well.  Think long and hard about the way you use a hardside ice-shelter in the winter, and especially how you fish out of one.  I prefer to be out on the open ice, but also appreciate and enjoy modern comforts afforded by a well-heated space that offers fixed seating and more room.  Still, if you’re like me, knowing that you’re already confined to a small space on the ice, you’re pulling overtime on thinking of ways to offer as many fish as many looks as possible. 

To me, that means individual anglers jigging from a direction or area that they’re comfortable in, along with a combination of rattle reels and even tip-up’s outside to round out the spread.  Livebait vs. deadbait, deadbait motionless vs. deadbait jigged, etc.,etc. etc.  These are the kinds of fishing experiments you’ll be running inside the house, so you should setup the house for maximum flexibility.  To me that means portable rattle reels that can be interchanged from hole to hole at the drop of a hat.  It also means that depending on how many people you’re fishing with, the amount and configuration of holes used may be drastically different.  If children will be in the house, un-used, or lots of holes spells wet legs and early leave times, so consider covers of some sort.

Heat and the direction or power of heat is always an issue in any house.  It always seems like there’s either too much, or not enough, so invest in low-draw fans that keep the heat off the ceilings and moving around the entire house constantly.  Also be wary of setting lines too close to heat sources, first because of the obvious burn dangers, but also because it’s not very comfortable sitting in front of the furnace on full blast.

Do invest in quality lighting, as most folks get a few incandescent lights, or rope-lights, then call it “good enough” stating, “I can always wear a headlamp after dark.  Go the extra mile, spend the money and buy low-draw LED bulbs or light bars that diffuse light evenly throughout the house.  My experience is that rarely is there enough good light to tie knots, unhook fish, and find the jig you’re looking for.

Also, do spend the time to make your door as wind-tight and well-fit as possible.  The door gets the most abuse in any ice house.  It’s kicked on, swung against the house, and the handle is banged on repeatedly, all while the forces of extreme cold, heat, moisture, and resulting ice make it difficult to work as intended.  Good quality insulated doors are easier now to find, so consider spending more on something that will last.

Don’t’s

I grew up on a farm, and regularly must resist the urge to unleash my inner wire, bail twine, or duct tape fixes.  Perhaps the best advice I could give any DIY’er, is to realize both the limits of your ability, and to recognize a better mousetrap when you see one.  I encourage talented carpenters and woodcrafters to design everything from more efficient shelving, to beautiful wood interiors, rod racks, and even cabinets.  I strongly discourage using 2X4’s and other wood scrap to fashion items such as a door latch.  They make effective and time tested versions of these every day, with many options to fit several budgets.

Case in point would be Fishhouse version 1.0 from last winter.  My friend is an HVAC contractor, and has plentiful tin at his immediate disposal.  Our first hole sleeves then, were metal.  At first, they worked extremely well, and were somewhat disposable with how much ducting he has lying around.  That was until they froze in or the auger blades would nick the edges and practically shred them.  Enter another alternative, the venerable five gallon bucket.  While a great budget option, they offered a sizable “lip” that extended above the floor, creating trip and toe stubbing hazards at every turn.  It doesn’t sound like much, but when you have a house full of ice-holes, and each one of them has this lip, you’re walking real estate becomes far less than you might expect.  Getting the screw down covers with snap-on lids and removable hole sleeves, did not prove to be free like the buckets were, but did offer far more flexibility, comfort, and ease of use.  More importantly, it means our ATV can be driven right on top of the hole covers and we can use the fish-house to also haul.

Lastly, don’t forget to include all of the simple comforts of home.  Racks for drying items, hangers for a pliers, ruler, or jaw spreaders, and small shelves up high for putting food or other items away are some of the last things thought of.  Ideally, for some, it’s best to just fish the house somewhat bare, and then add things on an as-needed basis.  However, if you’re like me, you forget the drill and screwdrivers each time, and end up focusing only on the fishing.  Not a bad thing, as it’s the primary reason you’re out there, but the best permanent houses for fishing are not coincidentally the ones that are best thought-out. 

DSC_0023.JPG